

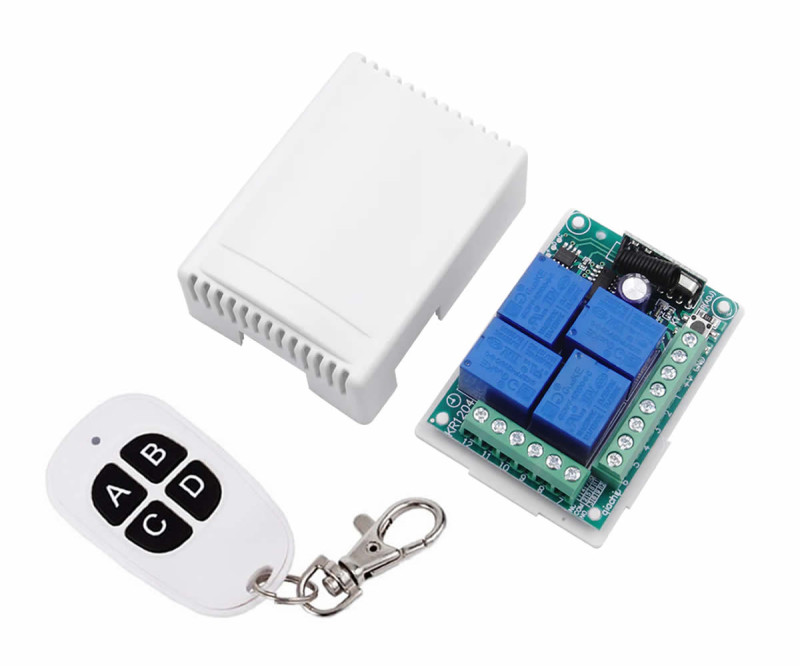
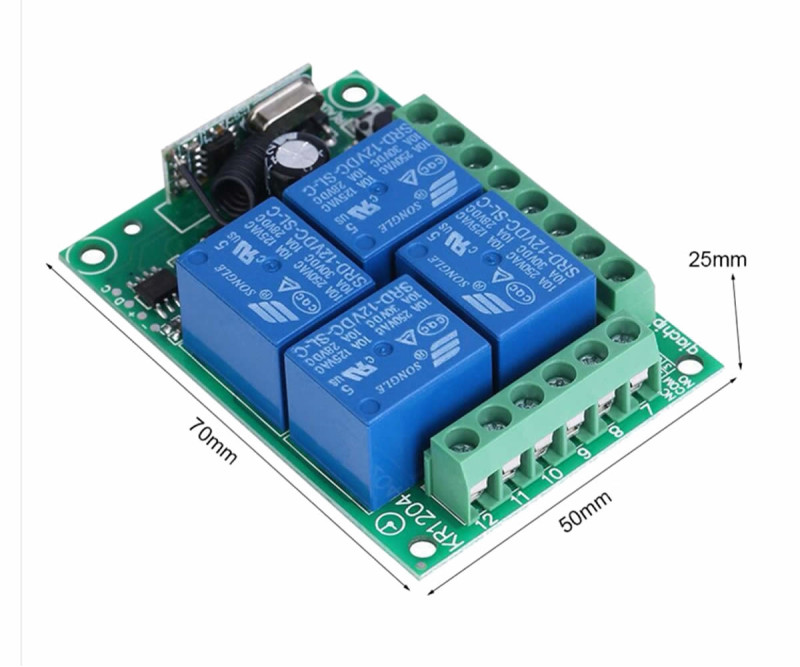
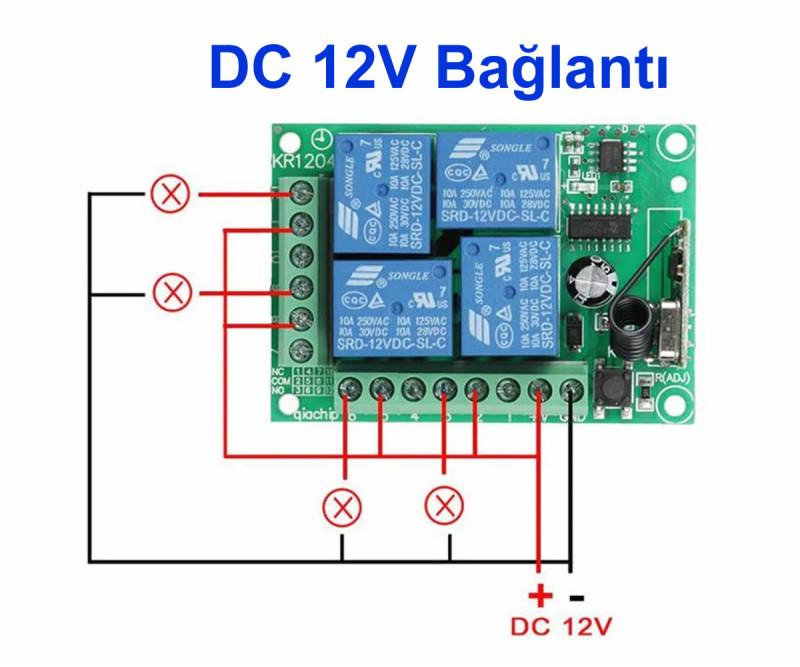
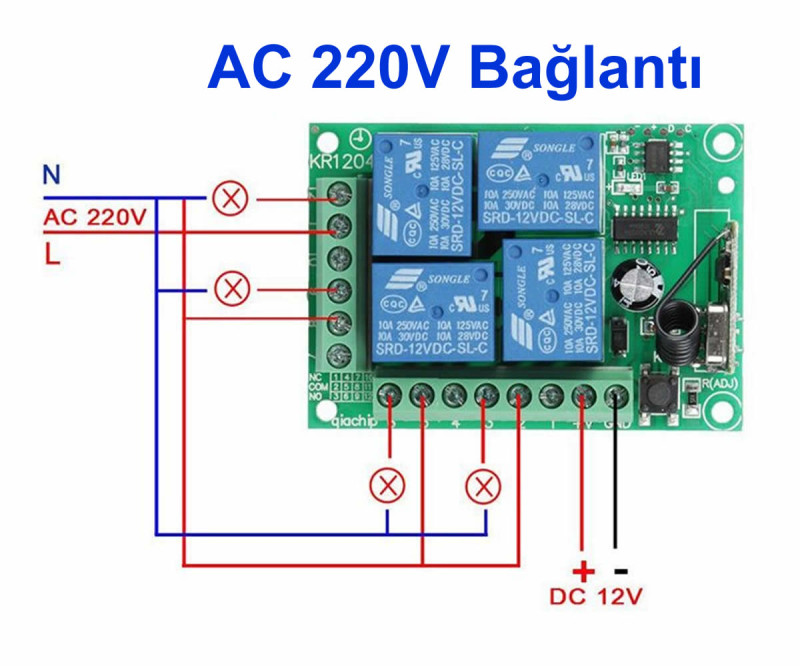
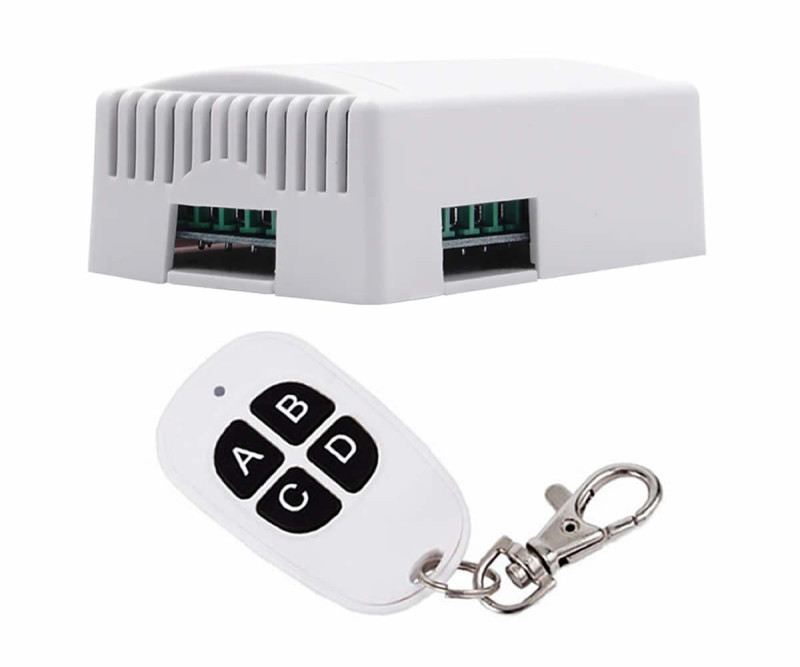
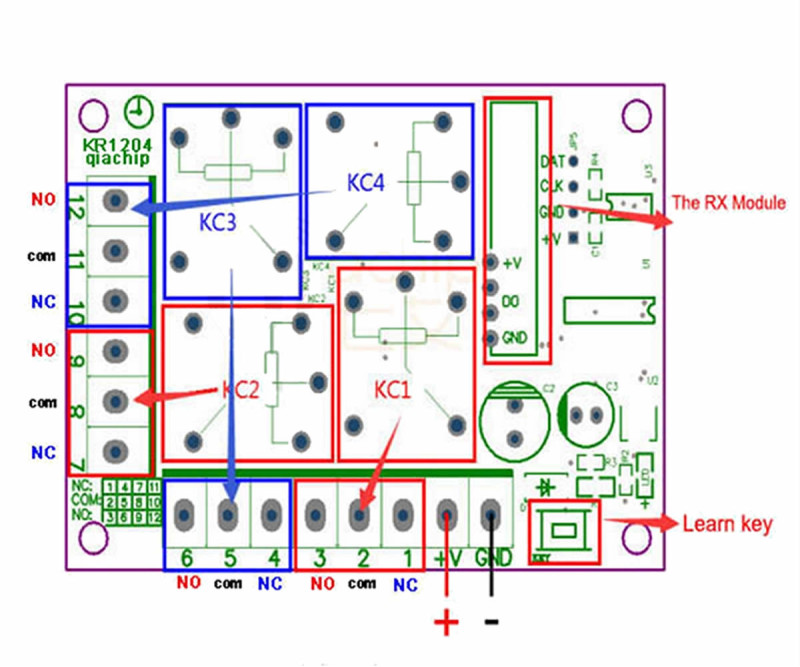
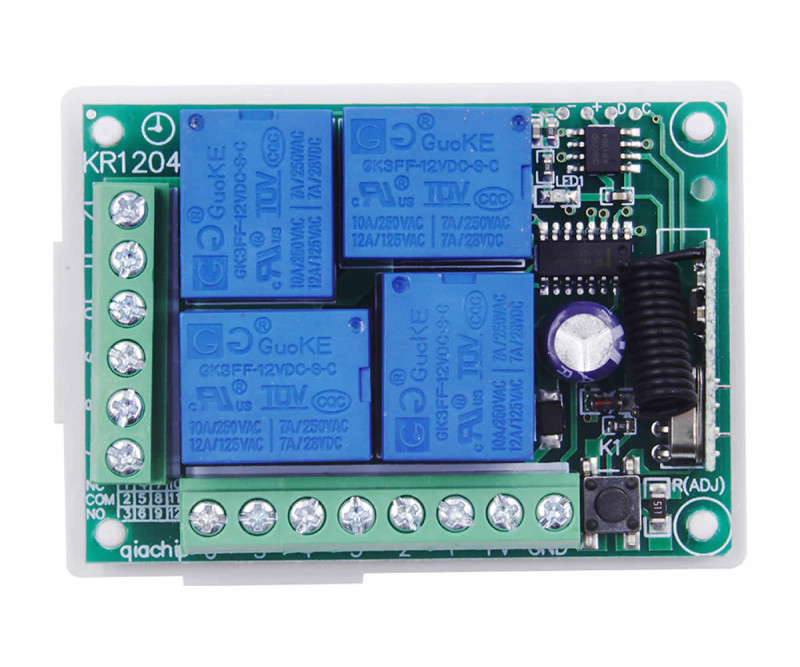
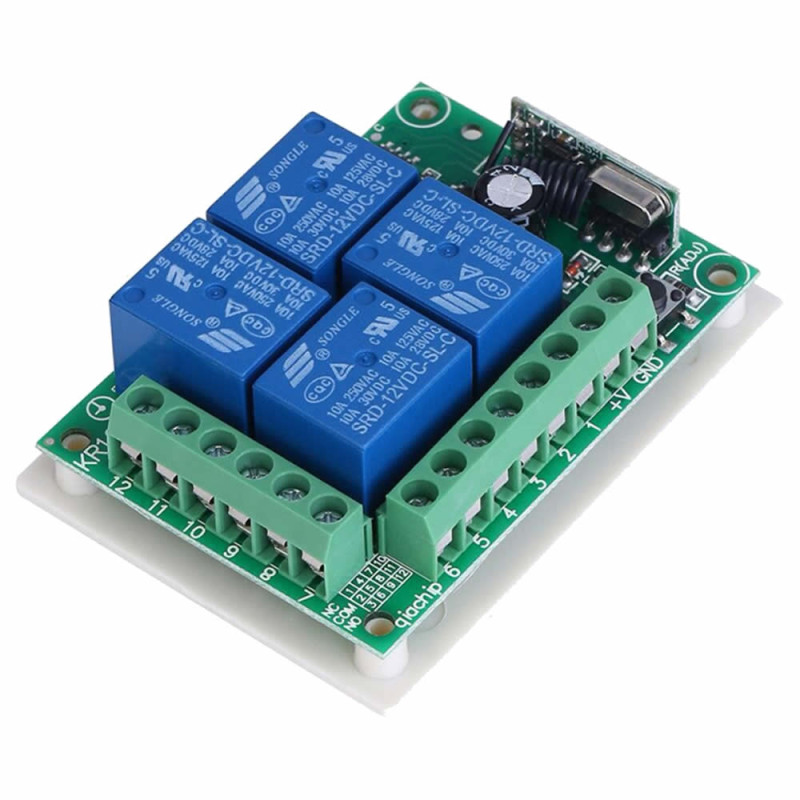
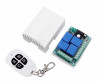
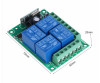
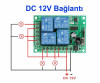
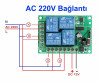
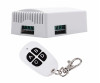
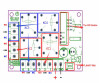
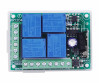
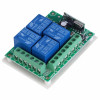
433MHz 4 Channel Relay 12V KR1204
754.38TL
628.65TL + KDV
10 or more 641.22TL
Buy 10 or more of this item and the unit price drops by 15%; pay by bank transfer for a total 20% discount.
- Stok Durumu: Stok Var
- Marka: OEM
- SKU: RBZ.101.541
Marka: OEM
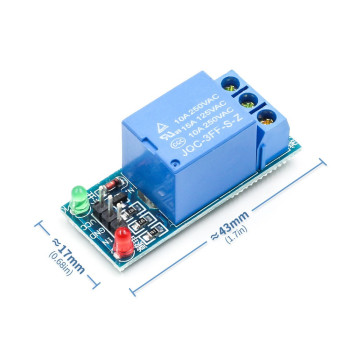
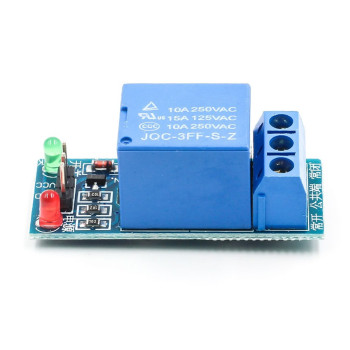
1 Channel 12V Relay Module
Battery Adapter Powered Control Board Caravan Boat Lamp Fan Pump Solenoid Valve Irrigation Greenhouse Aquarium..
53.46TL
Ex Tax:44.55TL
Marka: OEM
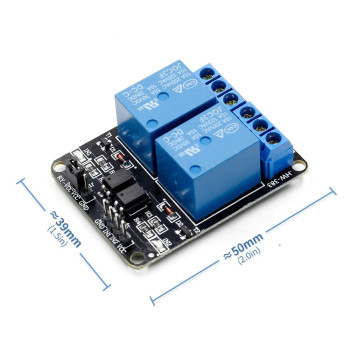
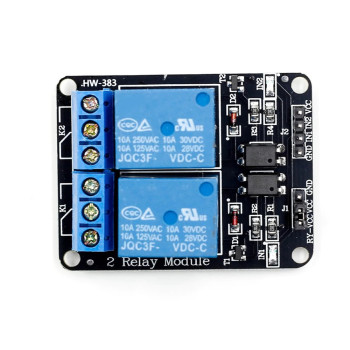
2 Channel 12V Relay Module
10A AC 250V DC 30V Optocoupler Isolation Switch Automation Smart Home Motor Control
..
83.16TL
Ex Tax:69.30TL
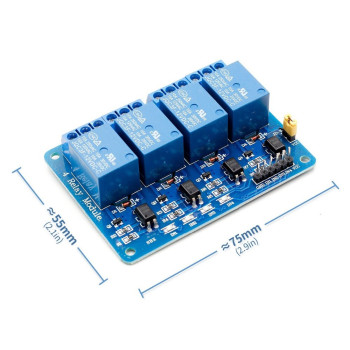
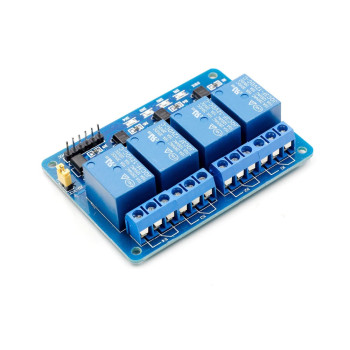
Marka: OEM
4 Channel 12V Relay Module
FEATURES
4 channel 12V relay module
12V relay
..
178.20TL
Ex Tax:148.50TL
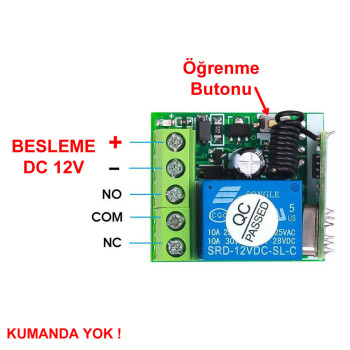
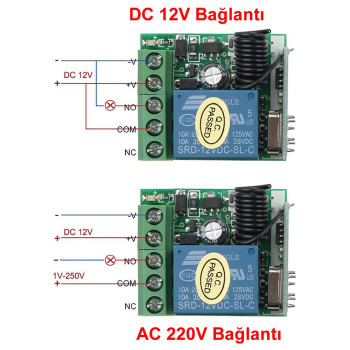
Marka: OEM
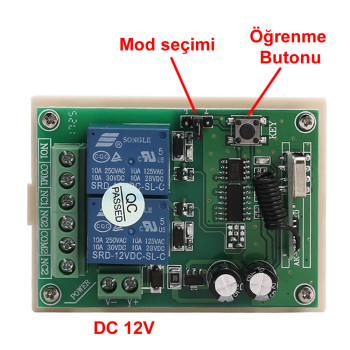
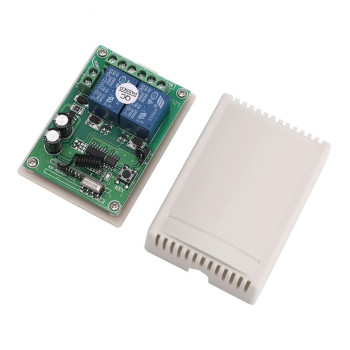
433Mhz RF 1 Channel Relay Module DC 12V
Wireless Pump Fan Lamp Curtain Smart Home Garage Barrier Door Control
A remote control is not ..
326.70TL
Ex Tax:272.25TL
Marka: OEM
433Mhz RF 2 Channel Relay Module DC 12V
Wireless Motor Pump Fan Lamp Curtain Smart Home Garage Barrier Door Control
A remote control i..
534.60TL
Ex Tax:445.50TL
Marka: OEM
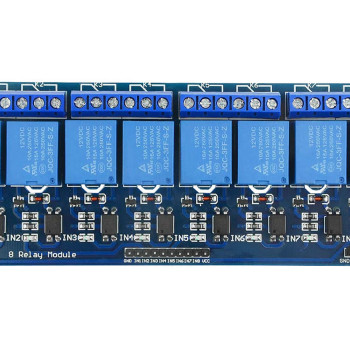
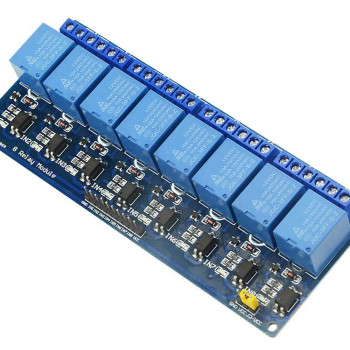
8 Channel DC 12V Relay Module
AC 250V DC 30V 10A Optocoupler Isolated Inputs Electronic Switch Thermostat Heating Element Motor Lamp..
356.40TL
Ex Tax:297.00TL
Marka: OEM
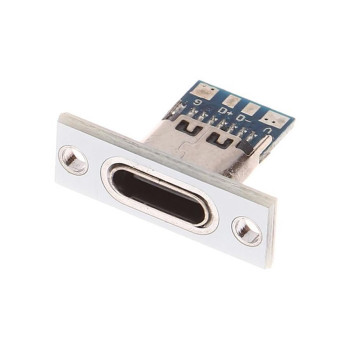
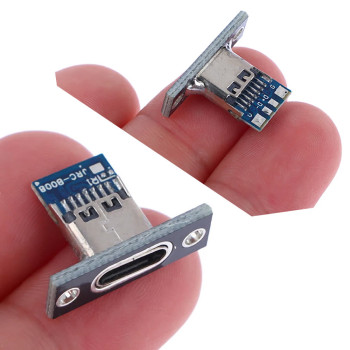
USB 3.1 Type C Panel Mount Female Socket 4 Pin
Smd Solderable Pads Connector Phone Charge Board
The Type C Usb..
23.76TL
text_tax19.80TL
Marka: OEM
433Mhz RF 2 Channel Relay Module DC 12V
Wireless Motor Pump Fan Lamp Curtain Smart Home Garage Barrier Door Control
A remote control i..
534.60TL
text_tax445.50TL
Marka: OEM
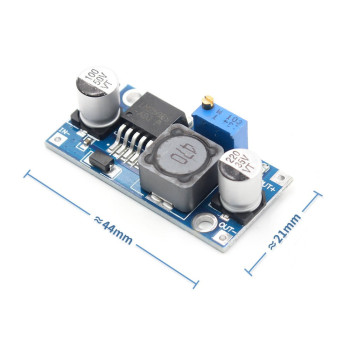
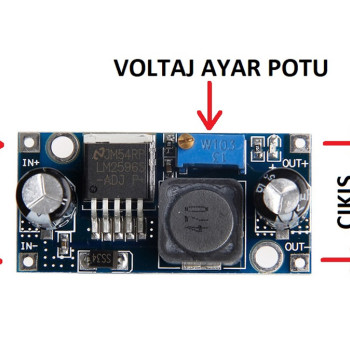
LM2596 35V 3A Power Supply Module ( Steps Voltage Down )
Voltage Adjustable Supply DC DC Converter 35V 3A Power Module
When you first ..
65.34TL
text_tax54.45TL
Out of Stock
Marka: OEM
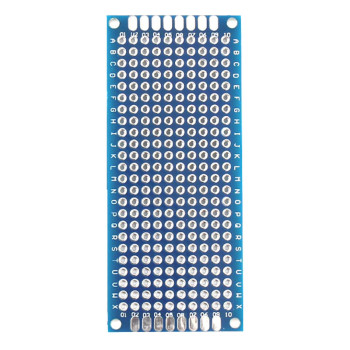
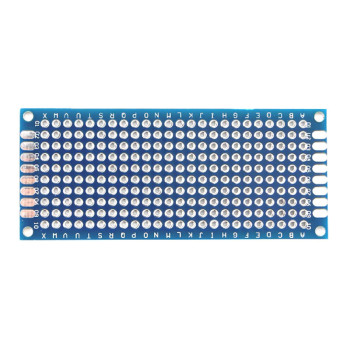
10X24 Proto Pcb 3cm x 7cm
Pertinax Electronic Circuit Prototype Experiment Board FR4 Perforated Plate Quality Pcb
Features:
..
14.85TL
text_tax12.38TL
Online Only
Marka: OEM
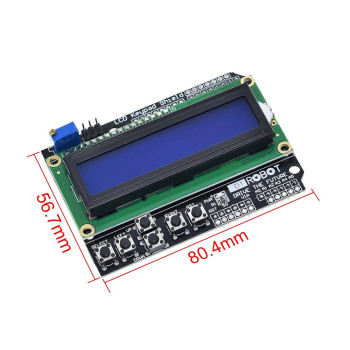
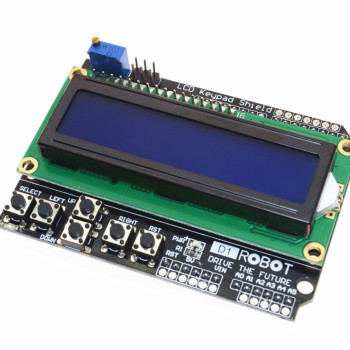
Arduino LCD Keypad Shield
https://wiki.dfrobot.com/Arduino_LCD_KeyPad_Shield__SKU__DFR0009_
Designe..
213.84TL
text_tax178.20TL
Marka: OEM
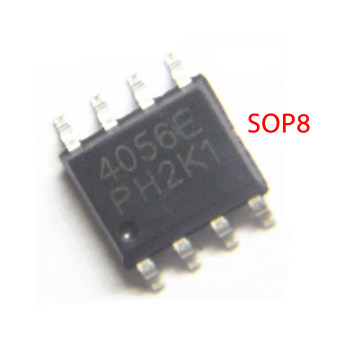
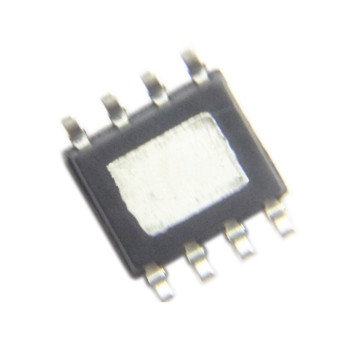
TP4056 3.7V 1A Lithium Li-Ion Battery 18650 Cell Charger IC SOP-8
The TP4056 is a complete constant-cu..
7.13TL
text_tax5.94TL
Marka: OEM
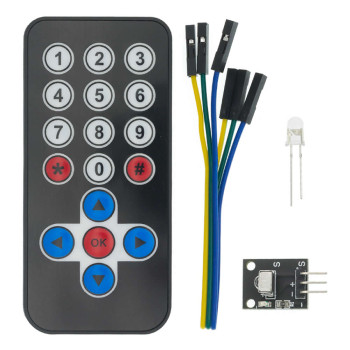
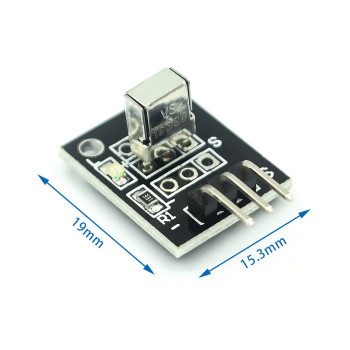
IR Receiver Transmitter Remote Control Set
Infrared Wireless Remote Receiver Transmitter Ky-022 Receiver Television Satellite Receiver Air ..
65.34TL
text_tax54.45TL
Marka: OEM
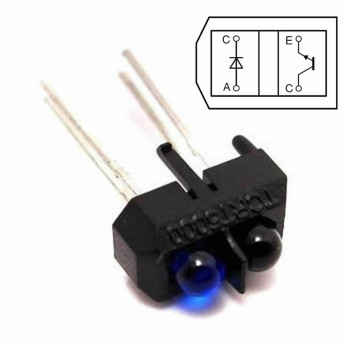
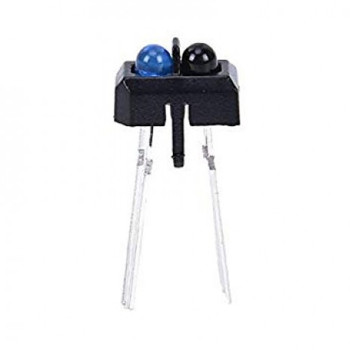
TCRT5000 IR Infrared Obstacle Detection Sensor
Infrared Proximity Distance Reflection Optical Sensor Sumo Line Following Robot Sma..
11.88TL
text_tax9.90TL