- Stok Durumu: Stok Var
- Marka: OEM
- Model: XY-WJ01 Modül
- SKU: RBZ.100.074
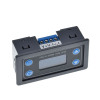
XY-WJ01 Timer Relay Module
DC 30V 6A Switch 0.01sec / 9999min Panel Type Box Automation Motor Control Security Smart Home
XY-WJ01 is a high precision timer relay module with a wide range of applications. It is an ideal solution for systems requiring timing control in both professional and hobby projects. With its easy to use interface and multiple operating modes, it offers a reliable solution in various electronic control projects.
Highlighted features:
- Wide timing range: Adjustable from 0.1 seconds to 999 minutes.
- Multiple operating modes: It supports different timing functions such as start (delay ON), stop (delay OFF), cycle and triggering.
- Digital display: Time setting and mode selection can be done easily with the user friendly 4 digit LED display.
- Easy use: Single button control and understandable menu structure.
- High durability: Durable and reliable performance with a relay that has a current carrying capacity of up to 10A.
- Low power consumption: Long term use with its energy saving design.
- Wide operating voltage: It can work in the 6-30V DC range.
Features
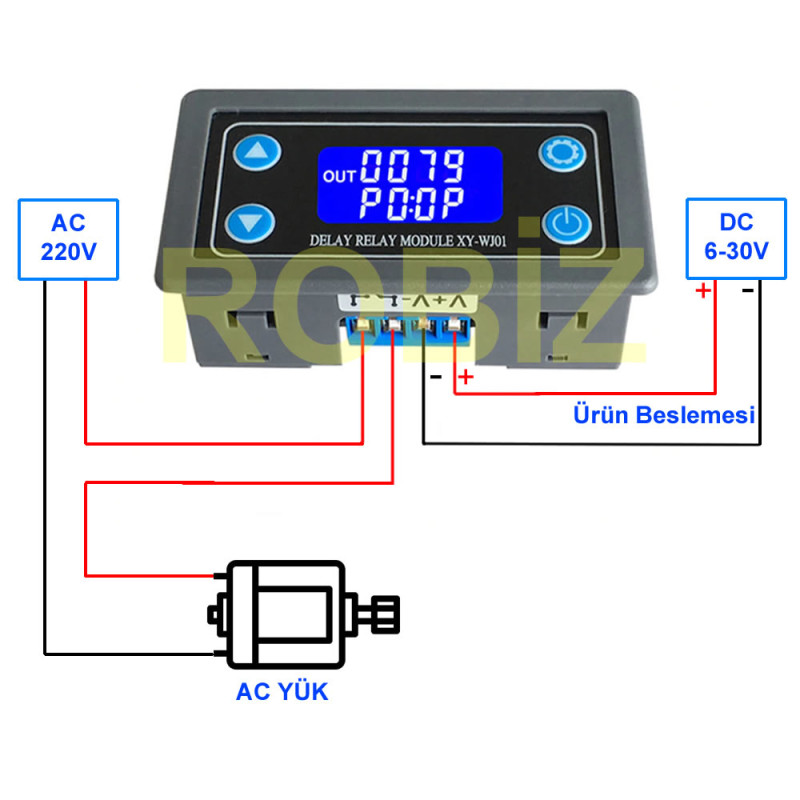
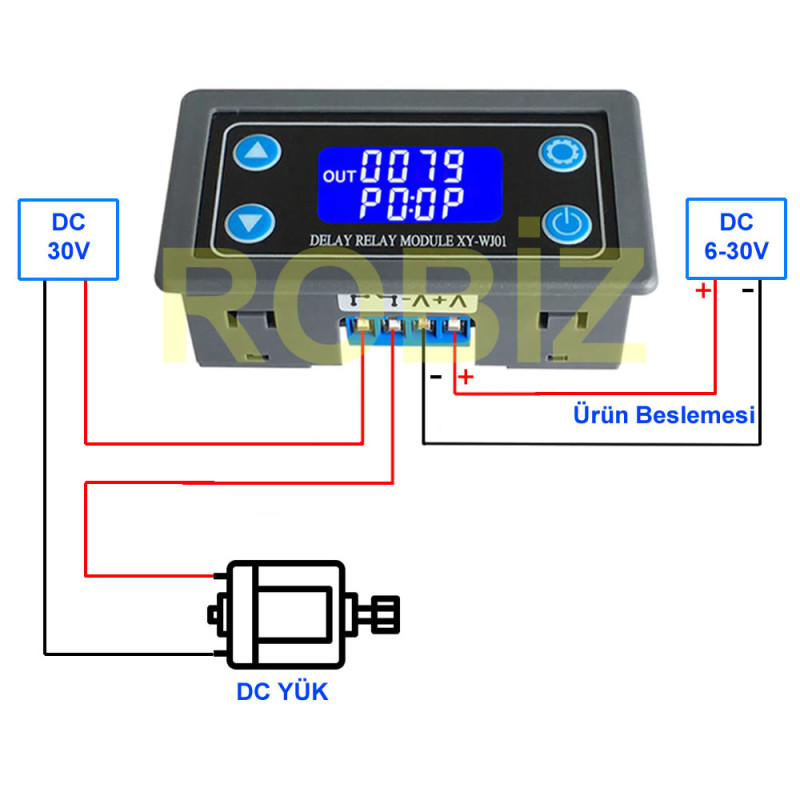
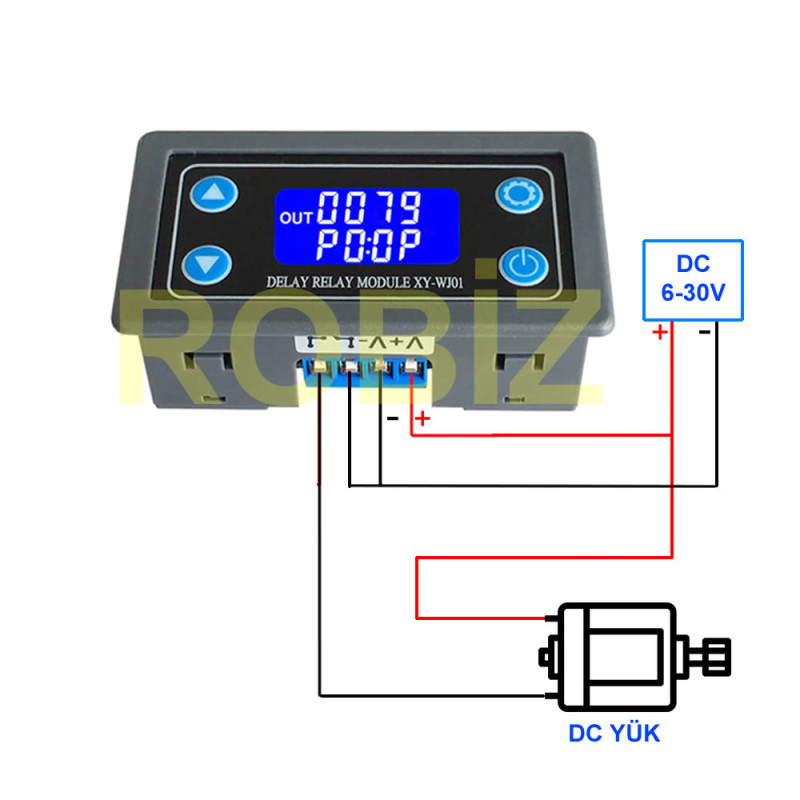
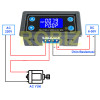
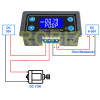
- Operating voltage: DC 6V / 30V
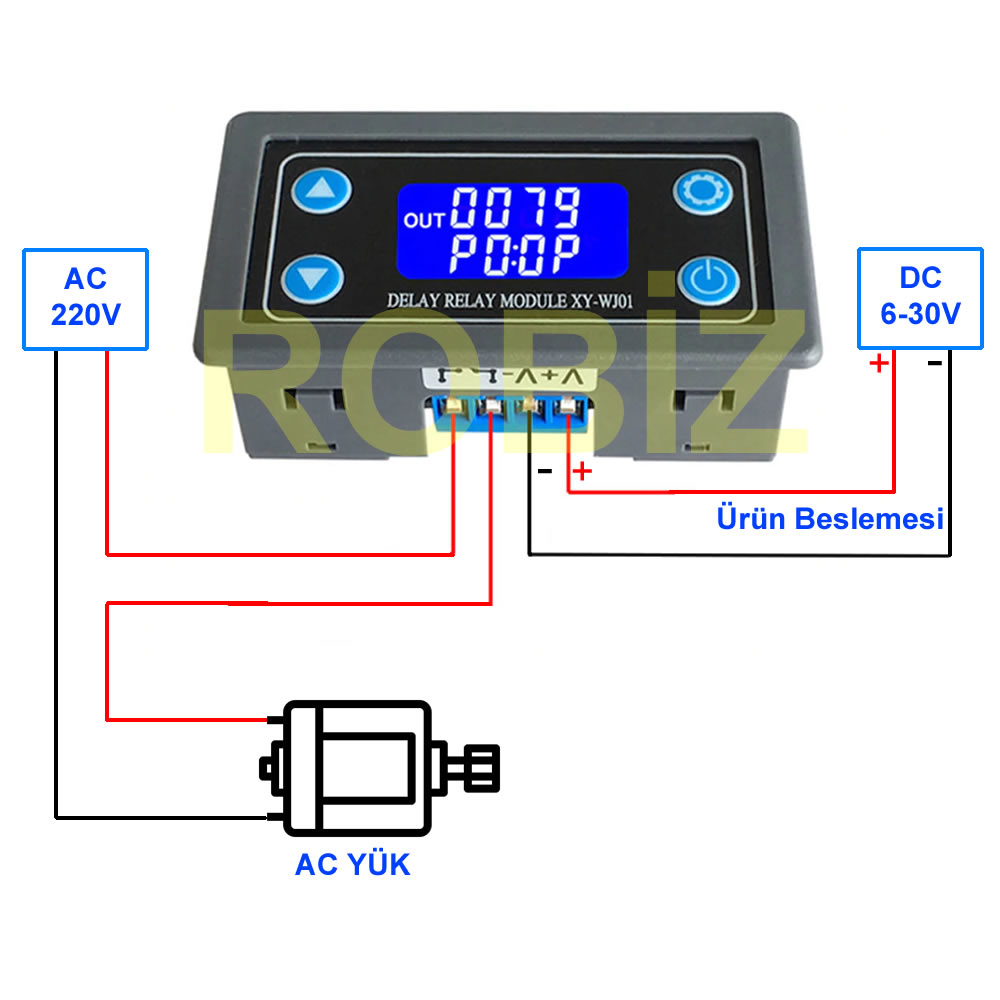
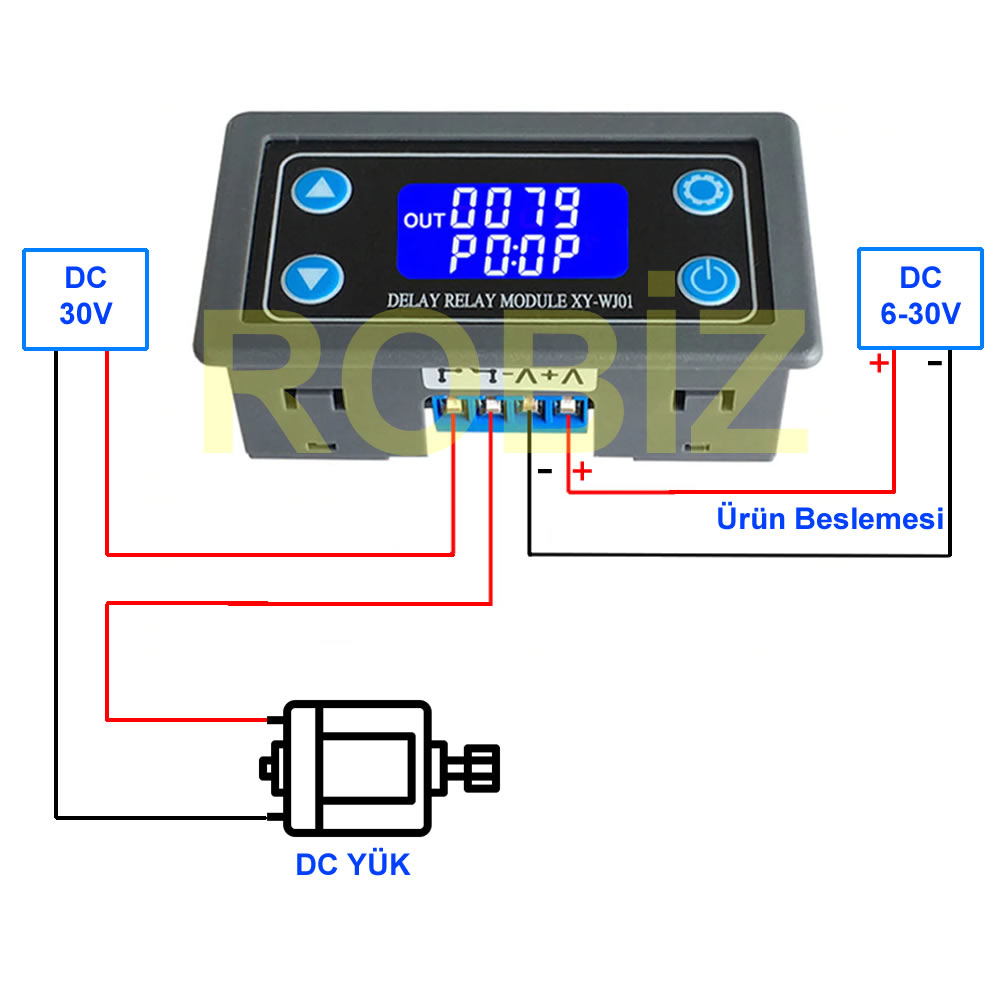
- Maximum output load: DC 30V 6A / AC 220V 5A.
- Maximum power: 1000W
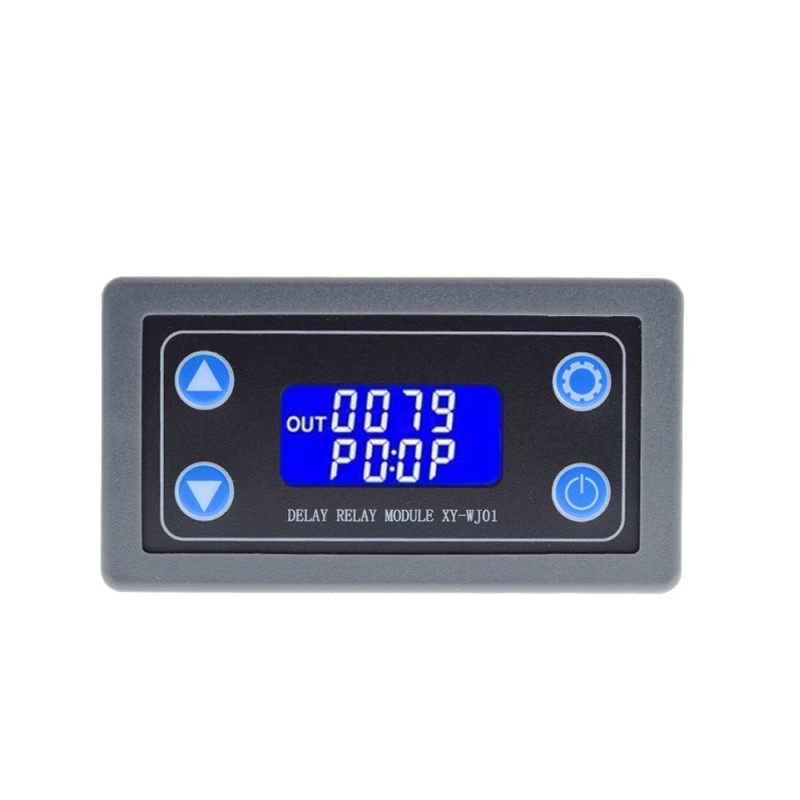
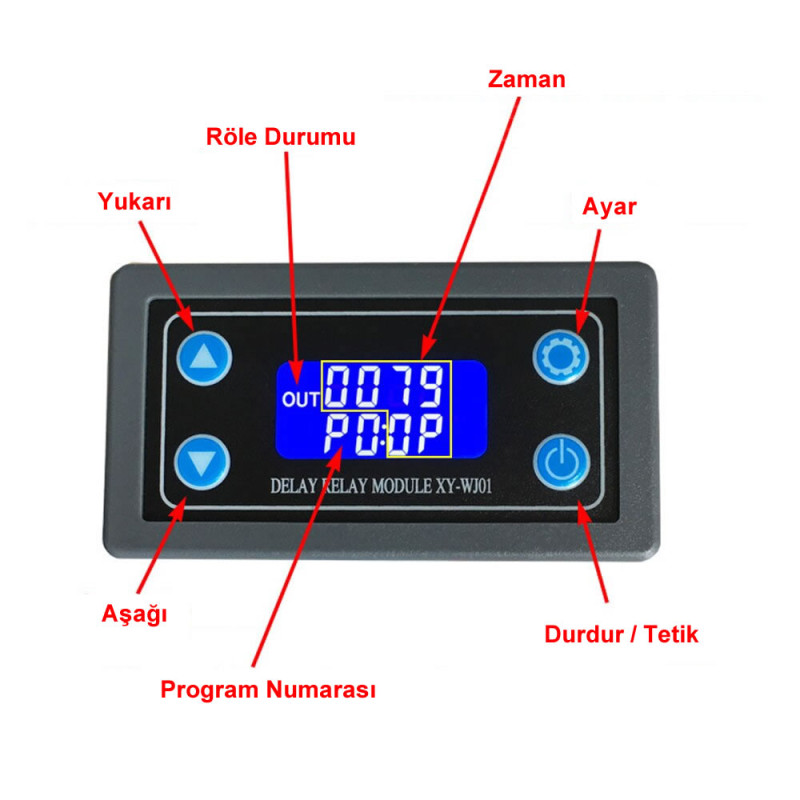
- 2 Line large lcd display, comfortable reading
- Timing range: 0.01 sec to 9999 min
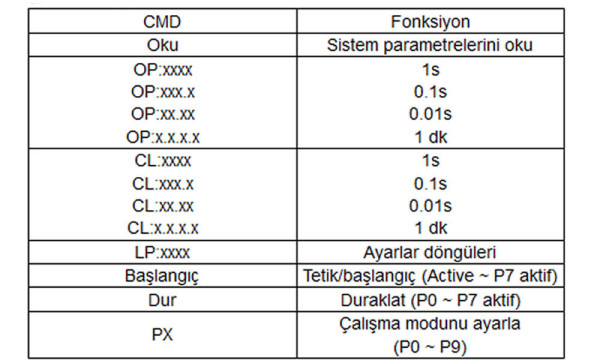
- Uart communication port ( Inside the box ): 9600,8,1
- Ability to make settings and parameter changes over Uart.
- Trigger connection socket ( Inside the box )
- Trigger signals are opto isolator protected.
- Trigger signal: High level (3.0V to 24.0V), Low level (0.0V to 0.2V)
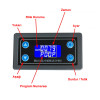
- Emergency stop button
- OP / CL / LOP parameters can be changed separately,
- Operating temperature: -40C / 85C
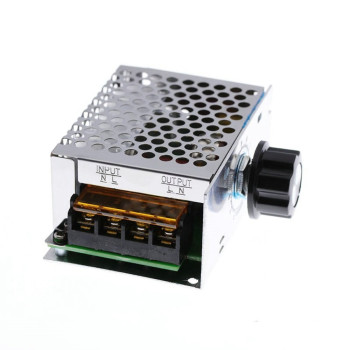
- Panel type box
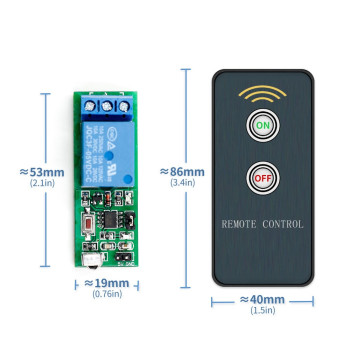
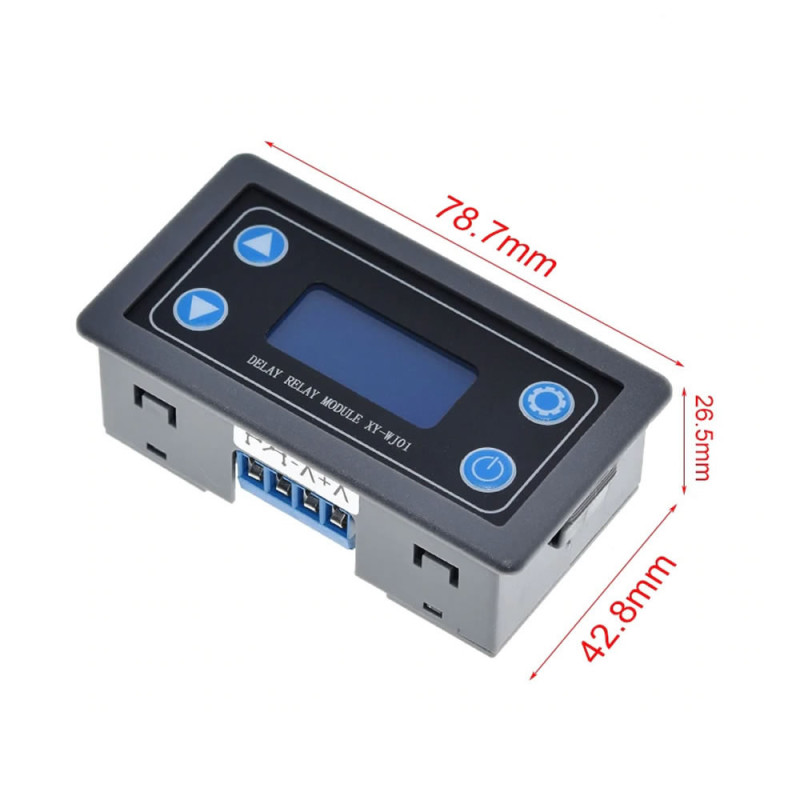
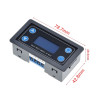
- Dimensions: 42.8mm x 78.7mm x 26.5mm
- Weight: 45gr
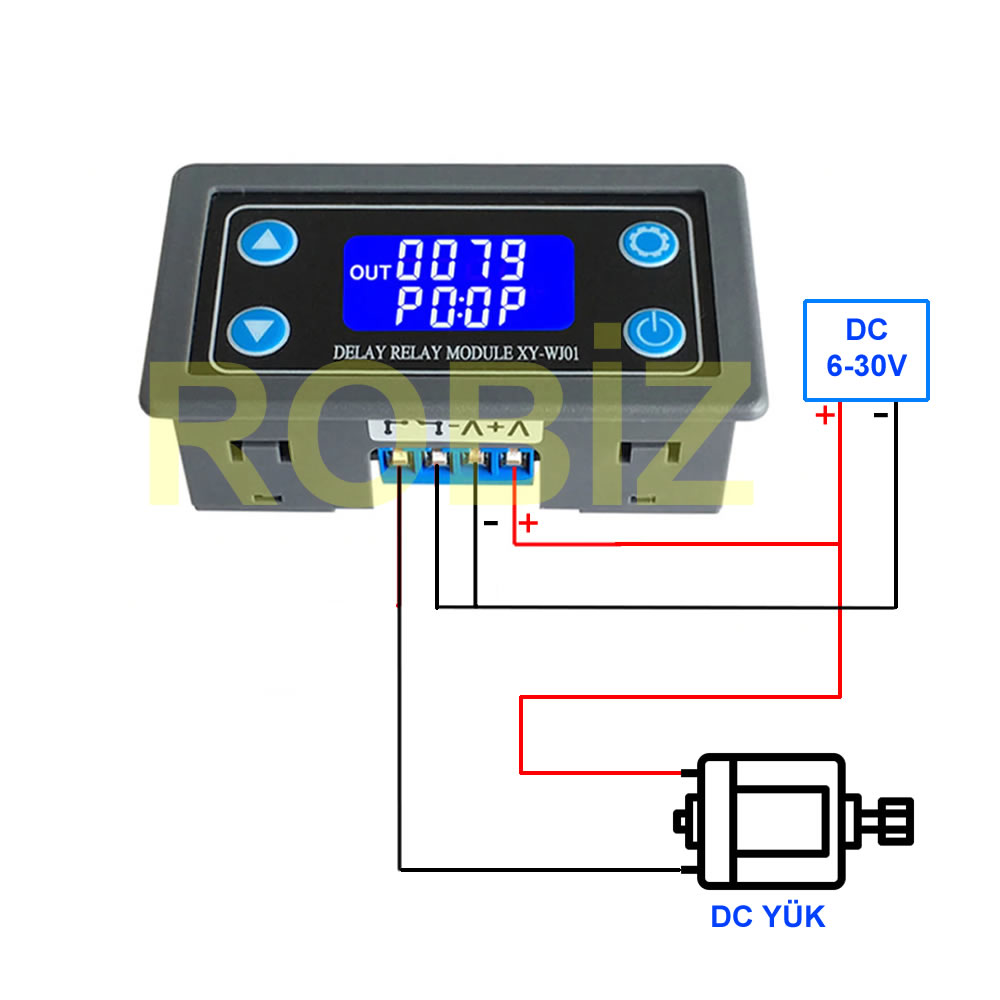
Package contents:
- 1 Piece XY-WJ01 Module
Parameter Description:
- OP Relay active duration
- CL Relay closed duration
- LOP Repeat count
Operating mode input (P1 to P7)
- P0: After the trigger signal, the relay is active for the Op duration. At the end of the duration, the output is turned off. The trigger coming again within OP time does not restart the program. After the program ends, the program starts again on a new trigger.
- P1: After the trigger signal, the relay is active for the Op duration. At the end of the duration, the output is turned off. The trigger coming again within OP time restarts the program. After the program ends, the program starts again on a new trigger.
- P2: After the trigger signal, the relay is active for the Op duration. If the trigger comes within Op time, the duration is reset, the relay turns off and it goes into standby.
- P3: After the trigger signal, the relay stays closed for the CL duration. Then the relay starts conducting.
- P4: After the trigger signal, the relay is active for the Op duration. Then the output is turned off for the CL duration. It repeats this operation as many times as the LOP count. While the program is running after triggering, the trigger coming again stops the program and the output turns off. After the program ends, the program starts again on a new trigger.
- P5: After the trigger signal, it waits for the Cl duration. Then the relay is active for the Op duration. It repeats this operation as many times as the LOP count. After all cycles are finished, the relay waits as active.
- P6: The relay is active for the Op duration. Then the output is turned off for the CL duration. It repeats this operation as many times as the LOP count. After all cycles are finished, the relay waits as closed.
- P8: Signal hold function: There is no time. When the signal comes, the relay stays on for the OP time. Afterwards the relay turns off. With a new signal, the Op time starts again.
- P9: Signal hold function: There is no time, the relay is closed. After the signal comes, it waits for the CL time then the relay becomes active. A new trigger signal during operation or after the duration restarts the program.
How to select the timing range:
- In the OP/CL parameter change interface, briefly press the pause button to select the timing range.
- XXXXTiming range: 1sec to 9999sec
- XX X.XTiming range: 0.1sec to 999.9sec
- XX.XXTiming range: 0.01sec to 99.99sec
- X.X.X.XTiming range: 1 min to 999.9 min
- For example, if you want, setOP move the decimal point to the tens digit up to 3.2 seconds. LCD display 003.2
- Parameter description: OPTime on,CLTime off,LOPCycle times (1 - 9999 times, "----" represents an infinite number of cycles)
Parameter settings:
A) Press and hold the SET key to enter the setting interface;
B) First set the operating mode, the operating mode reminder flashes, set the operating mode by pressing the up/down keys;
C) Short press the set button to select the operating mode and enter the system parameter settings.
D) In the system parameter setting interface, press the SET key to change the system parameters to be changed and press/long press the up/down key to change. (Note: In P0 to P3/ P8/P9 mode short press set is invalid);
E) In the OP/CL parameter modification interface, short press stop to change the timer unit (1s/0.1s/0.01s/1 min);
F) After all parameters are set, press and hold the set button for more than 2 seconds to release the hand, save the parameter settings and exit the setting interface.
1.Remote data upload and parameter setting functions: