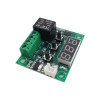
- Stok Durumu: Stok Var
- Marka: OEM
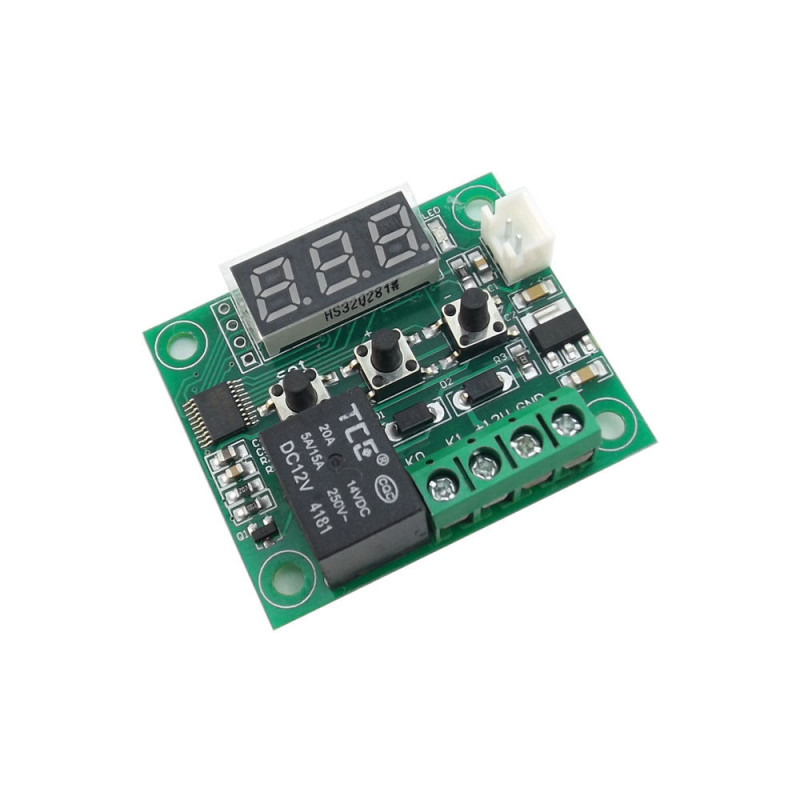
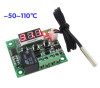
- Model: W1209 Termostat Modül
- SKU: RBZ.100.851
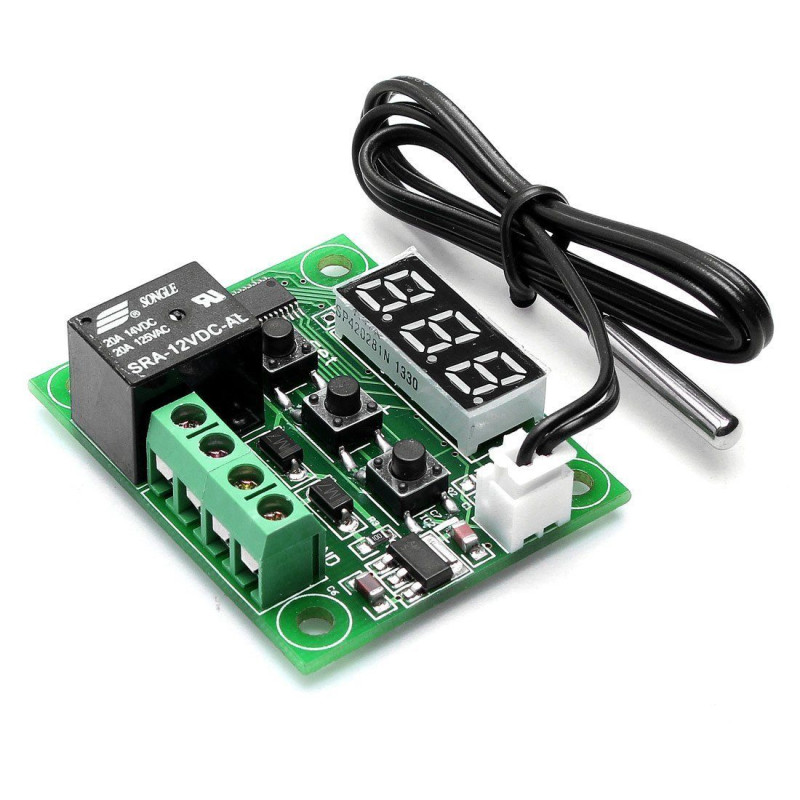
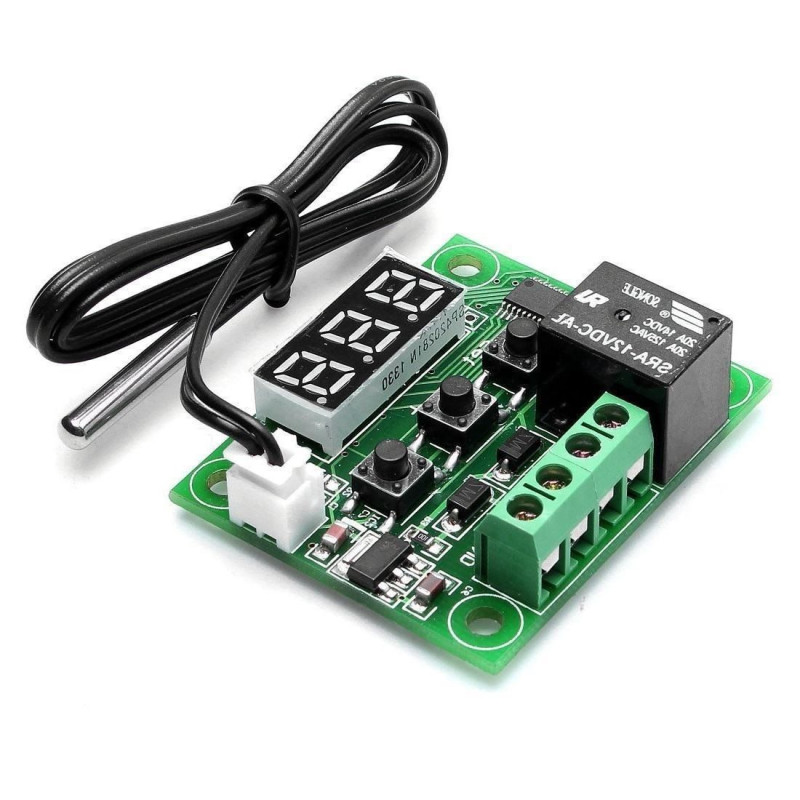
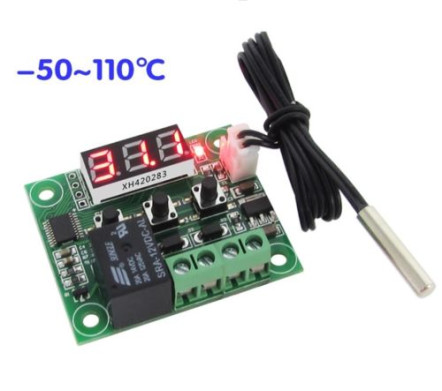
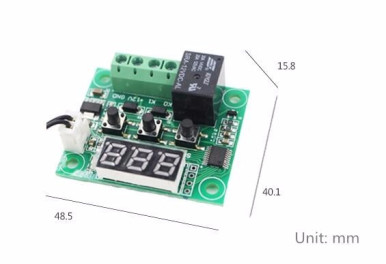
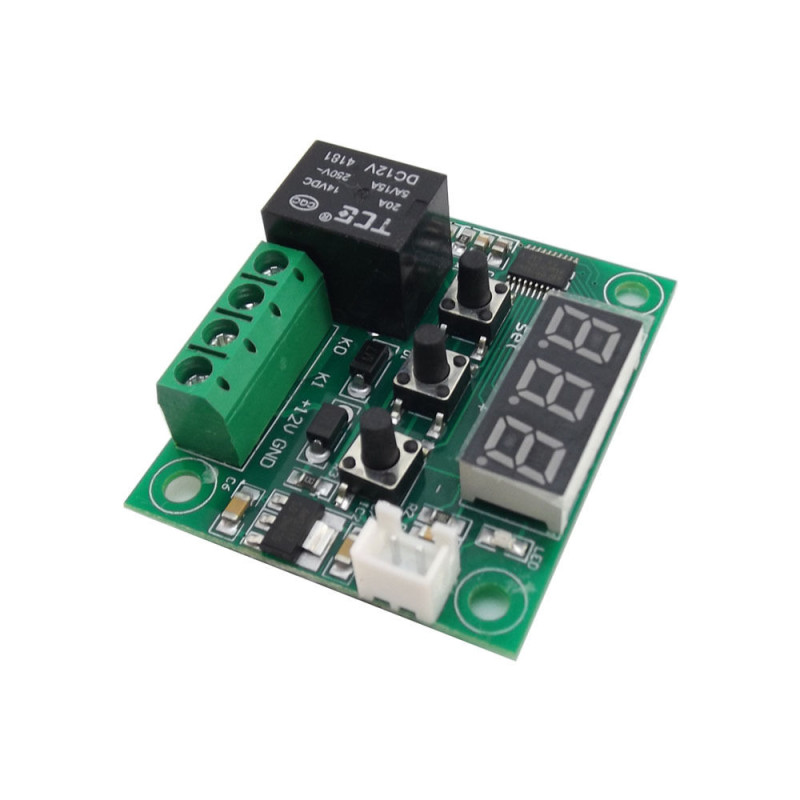
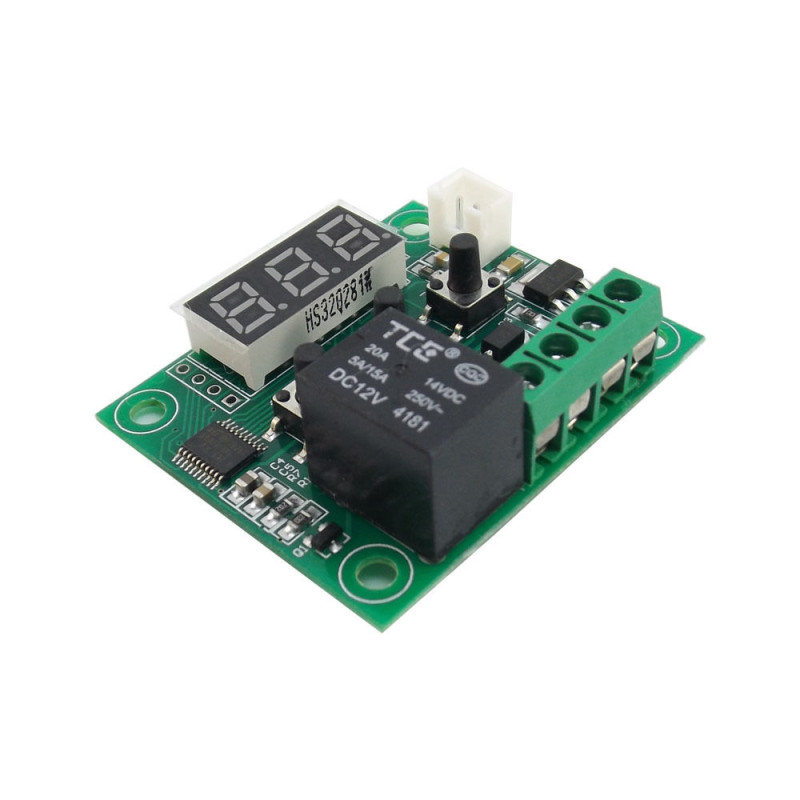
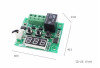
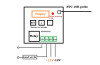
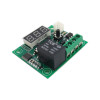
Temperature Controlled Digital Thermostat W1209
Temperature Control Board Heater Cooler Incubator Aquarium Refrigerator Freezer Oven Boiler
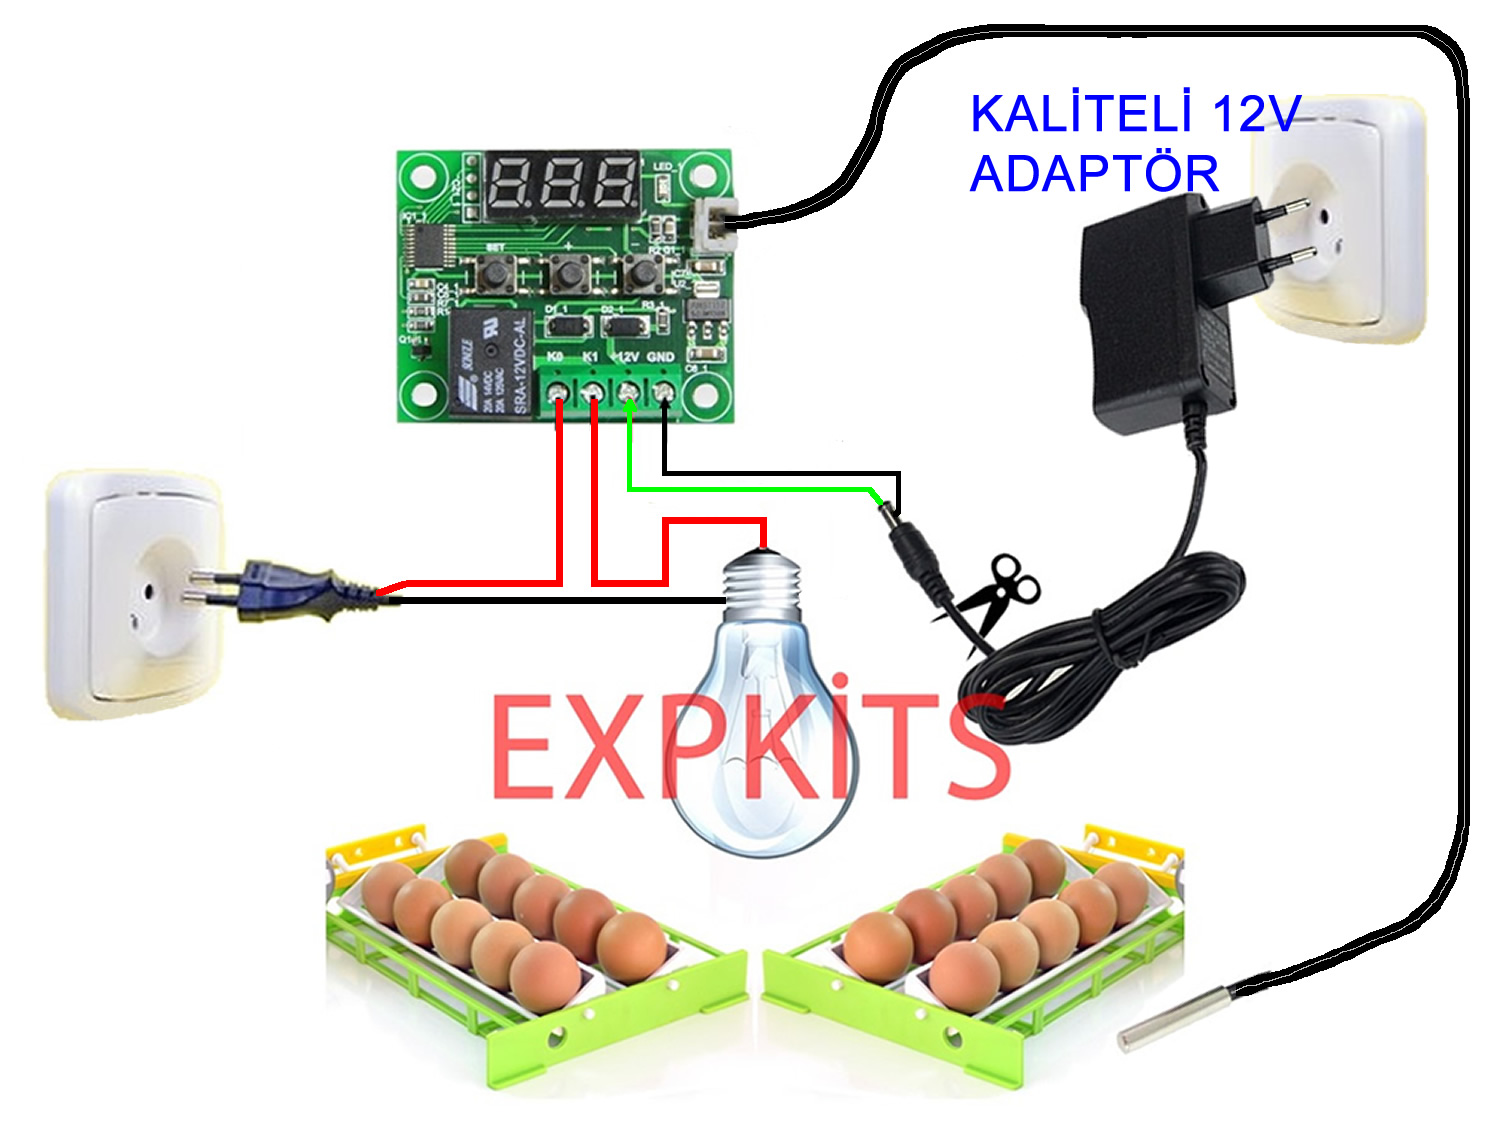
It can be used as a temperature control unit in many applications such as freezers, water tanks, refrigerators, industrial coolers and boilers, incubation systems and aquarium systems.
Product usage and menu descriptions
There are 6 menu settings. To enter these settings you need to hold the SET button for 5 s. Once in the menu, when you press the +- keys you will see menu numbers such as P0,P1,..,P6. When you go to the menu number you want and press the SET button again, you enter the settings of that menu. After making a setting in a menu, you must press the SET button again to save the setting.
Operating temperature : Press the Set key once briefly. The temperature value you want the environment to be is set with the +- keys.
P0 : The device can be used for heating or cooling purposes. This menu determines what type of work the device will do. Accordingly, the operating behavior of the device changes. C is selected for cooling, H for heating and the SET key is pressed again. H must be selected for incubation.
P1 : This is the sensitivity setting of the device. The device makes its decision process according to this value. After the relevant setting is adjusted with the +- keys, it is saved with set.
Example = In an operating temperature setting adjusted to 28 degrees, if P1 (sensitivity) is 2.0; The device keeps the relay open up to 30 degrees, allowing the environment to heat up. At 30 degrees it turns off the relay and stops the operation of the heating element. The environment that is not heated starts to cool down. When the ambient temperature reaches 30-P1=28 degrees, the device opens the relay again. It heats the environment again up to 30 degrees. At 30 degrees it turns off the relay. It continues in a cycle in this way.
The larger the value you enter for P1, the more the ambient temperature will fluctuate. If you want the fluctuation to be low and to remain constant at a certain temperature continuously, you can adjust this value down to a minimum of 0.1 degrees. This also allows the device to decide to heat or not to heat at changes of 0.1 degrees. When this value is selected very low, the relay opening and closing sound will occur frequently. We recommend setting 0.5 degrees.
P2 This is the highest temperature value the device can detect. It can be adjusted by long pressing the +- keys. 110 degrees is the factory value. Do not change this value. It is not your shut-off temperature. It shows the highest temperature measuring capacity of the device. You should not make any adjustment in this menu.
P3 This is the lowest temperature value the device can detect. It can be adjusted by long pressing the +- keys. -50 degrees is the factory value. Do not change this value. It is not your switch-on temperature. It shows the lowest temperature measuring capacity of the device. You should not make any adjustment in this menu.
P4 Temperature correction setting. If the temperature measured from your sensor is incorrect, this is the setting with which you can have the real temperature value measured by adding a correction here. That is, if the sensor shows a temperature 3 degrees high, if you set -3 in this menu it will now operate according to the real temperature value. If you have a thermometer that you really trust, with this menu you can make your device operate at correct temperature values.
P5 Delayed start time. The menu where the delay setting at start-up will be made in minutes. It will operate with a delay as much as the relevant setting. The factory setting is 0 min. Do not make any adjustment in this menu unless necessary.
P6 This is the high temperature alarm menu. The factory setting is OFF. Do not make any adjustment in this menu unless necessary.
If you have made the relevant settings but think they are incorrect and that you have made some settings wrong, and you want to return the device to factory settings, while the device is not supplied with power, cut and restore the electricity while holding the +- keys pressed, the device will return to factory settings.
Error codes:
888 or LLL = The sensor is not plugged in or the sensor has become open circuit=broken. The temperature value cannot be measured.
Information:
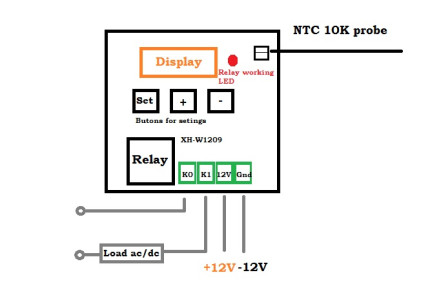
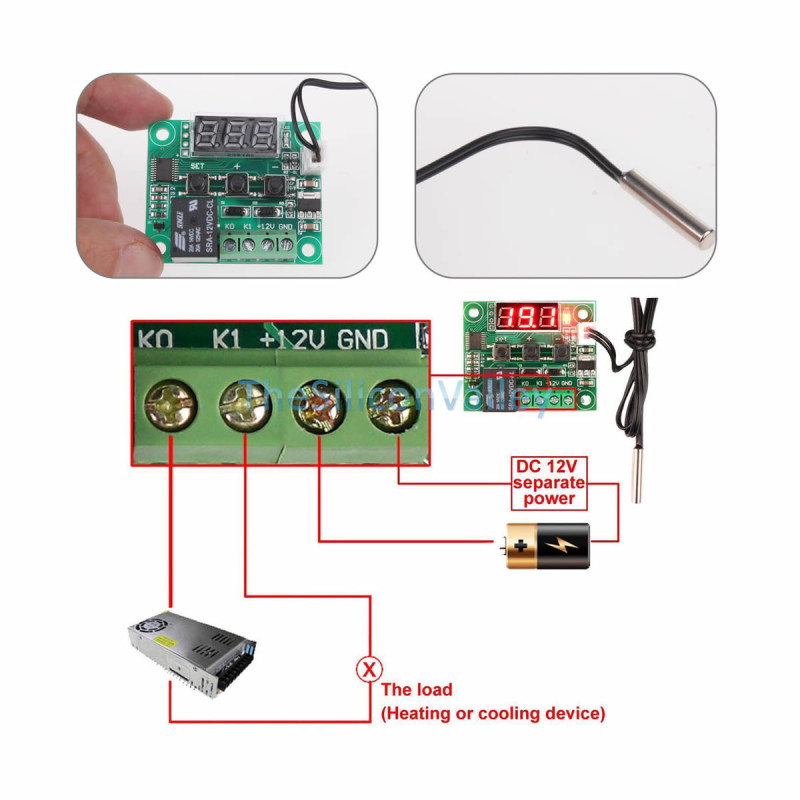
The relay on the device says 125V 20A. Questions come in asking whether this relay works with 220V. You can drive a load up to 220V 10A. However, we recommend that you do not use a load of more than 5A.
Menu Descriptions:
|
Menu settings are entered by pressing the set key for 5 seconds. |
|||
|
Code |
Code Description |
Change range |
Factory settings |
|
P0 |
C:Cooling / H:Heating |
C / H |
C |
|
P1 |
Hysteresis setting |
0.5 - 15 |
2 |
|
P2 |
Highest temperature |
110 °C |
110 °C |
|
P3 |
Lowest temperature |
-50 °C |
-50 °C |
|
P4 |
Temperature correction |
-7 - 7 °C |
0 °C |
|
P5 |
Delayed start |
0-10 Minutes |
0 |
|
P6 |
High temperature alarm |
0-110 °C |
OFF |
|
Cutting and restoring the electricity while the +- keys are pressed resets the settings of the device. |
|||
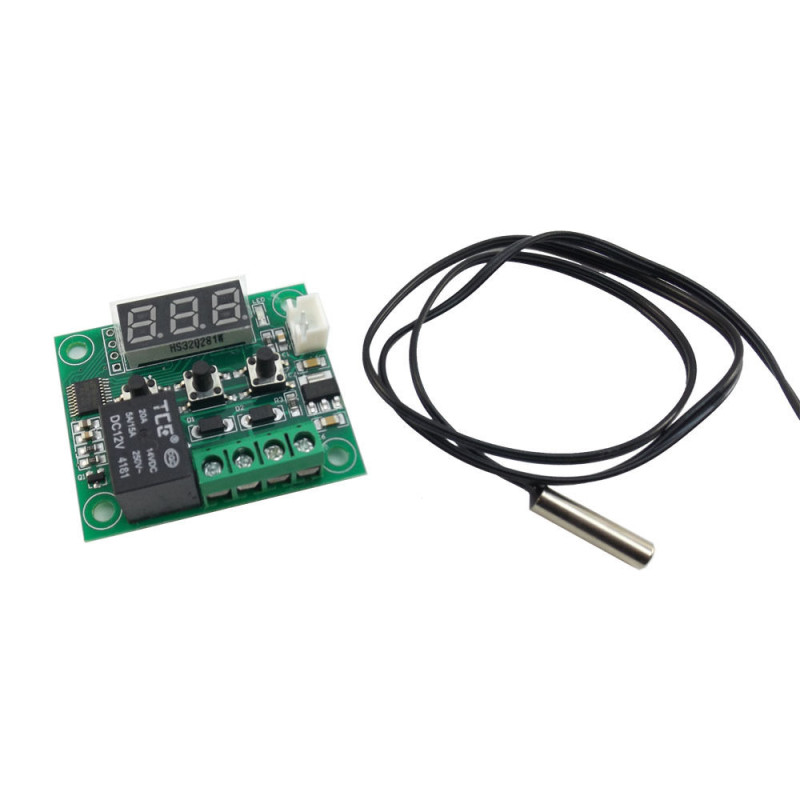
Package contents:
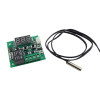
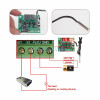
- 1 Piece Temperature Controlled Thermostat
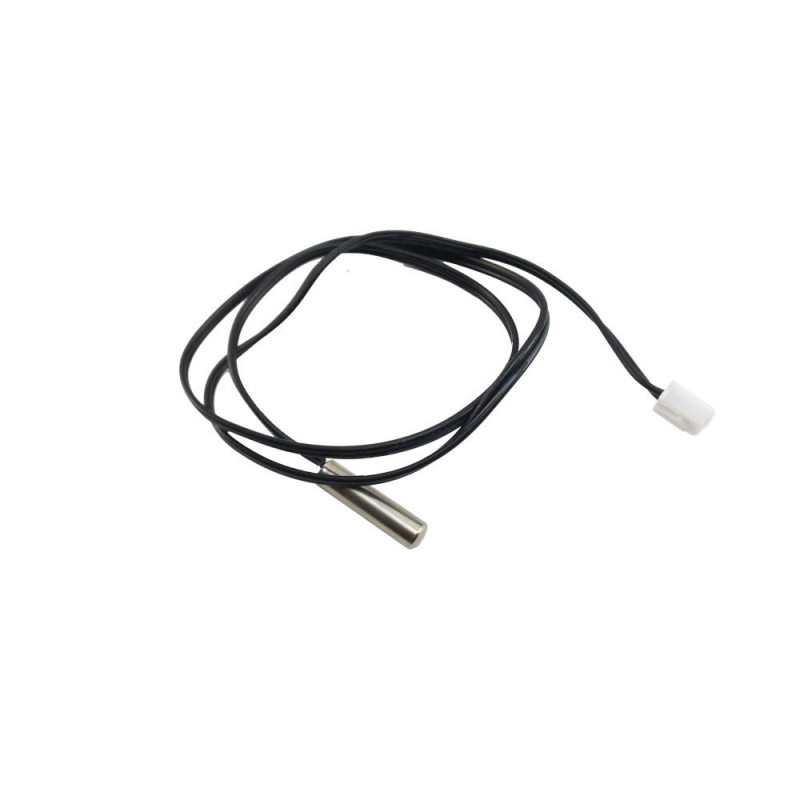
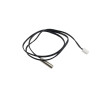
- 1 Piece Waterproof Temperature Sensor