Sepetim
Çerez kullanıyoruz 🍪
Sitemizin işlevselliğini ve tarama deneyiminizi geliştirmek için çerezler ve benzeri teknolojiler kullanıyoruz. Daha fazla bilgi için Gizlilik İlkesi sayfamızı inceleyebilirsiniz.
Saat 15:30'a kadar gelen siparişler aynı gün kargolanır
1100 TL üzeri Sürat Kargo ücretsiz
1500 TL üzeri Yurtiçi Kargo ücretsiz

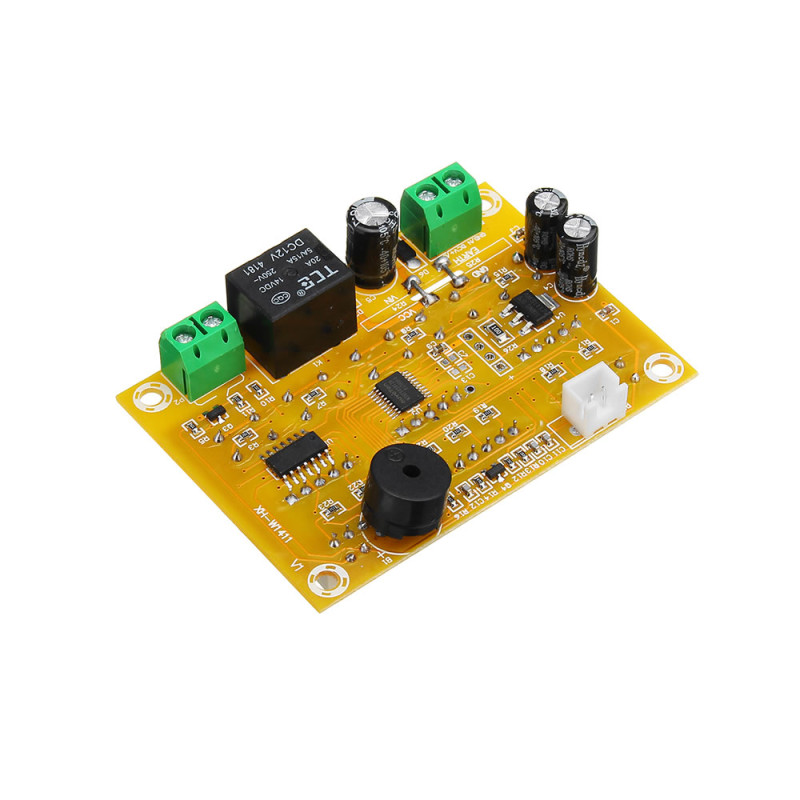
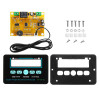
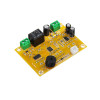
XH-W1411 Digital Thermostat / Timer Module

XH-W1411 Digital Thermostat / Timer Module
288.00TL
Ex Tax: 240.00TL
  • Stok Durumu: Stok Var
  • Marka: OEM
  • Model: XH-W1411 Termostat Modül
  • SKU: RBZ.100.410


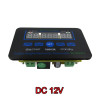
XH-W1411 Module DC 12V

Thermostat and Timer Function


     The product generally has 2 operating functions. The 1st area of use is using it as a thermostat. In the 2nd usage mode, the product can be used as a programmable timer with 2 time variables.


Features:

  • W1411 Thermostat / Timer Module
  • 3 Different timer operating modes
  • Supply voltage : DC 12V
  • Output relay power: 10A
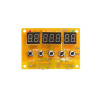
  • 3 Pcs indicator display screens.
  • High precision temperature measurement
  • Temperature measurement range: -55   120C
  • Temperature control range :-19 99C
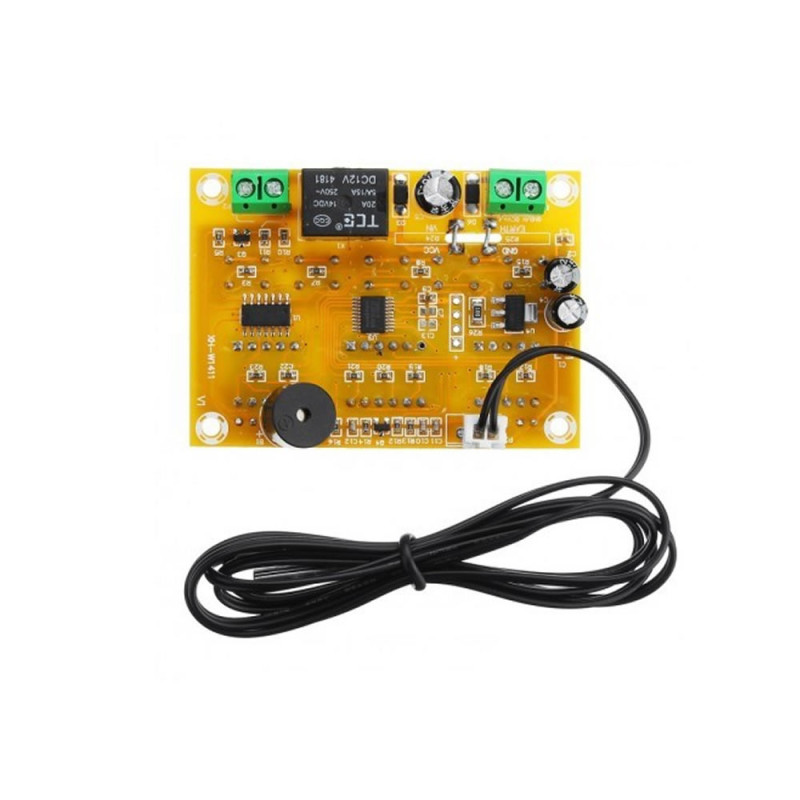
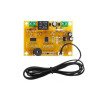
  • Temperature Sensor : Waterproof  NTC10K  ( B3435L )
  • Sensor Length : 1 Meter
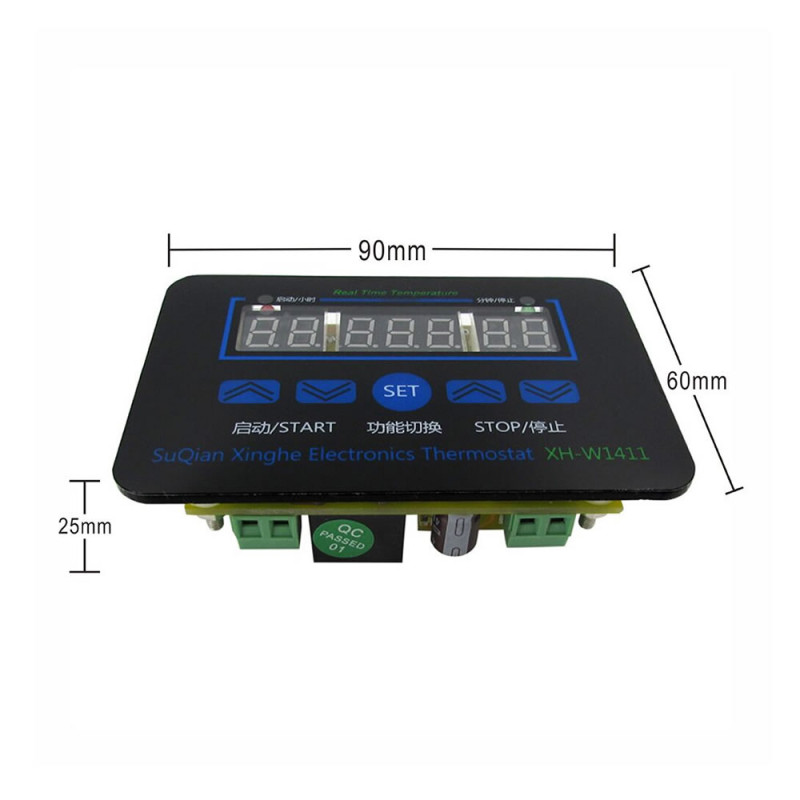
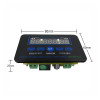
  • Panel size: 90 x 60mm


1)  Thermostat Mode:

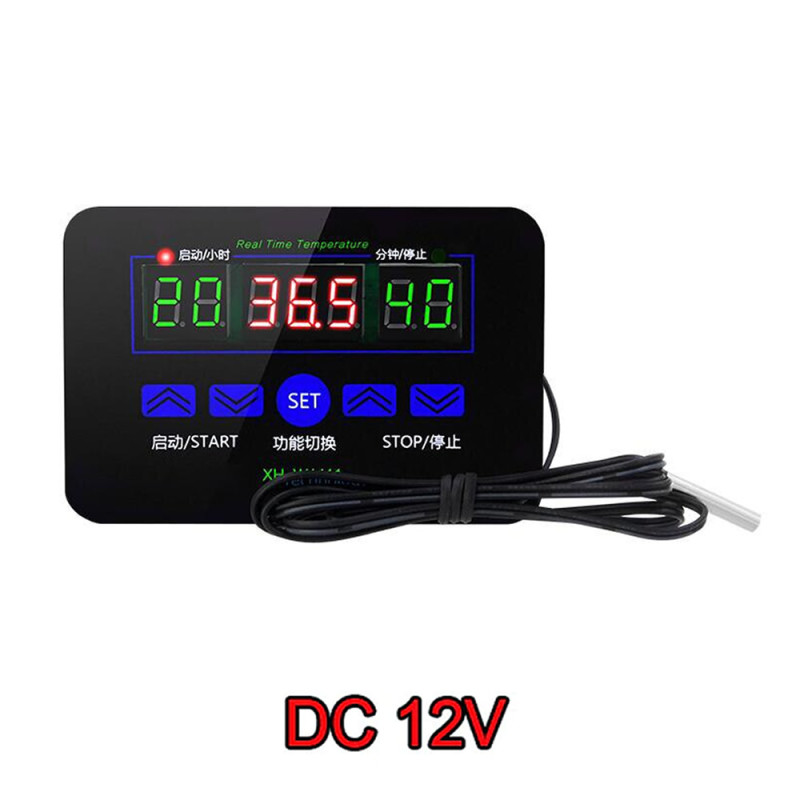
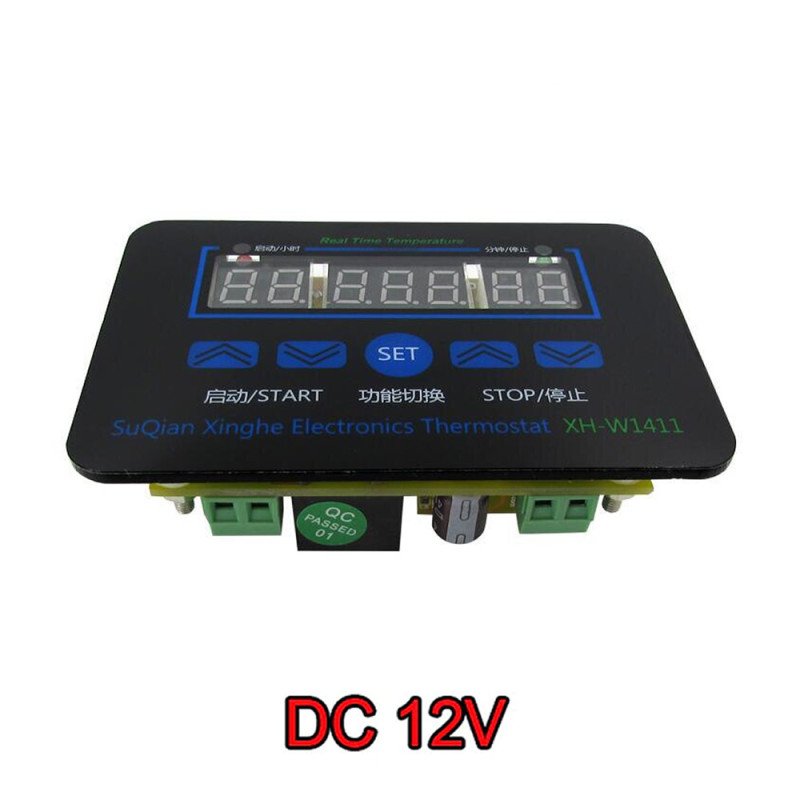
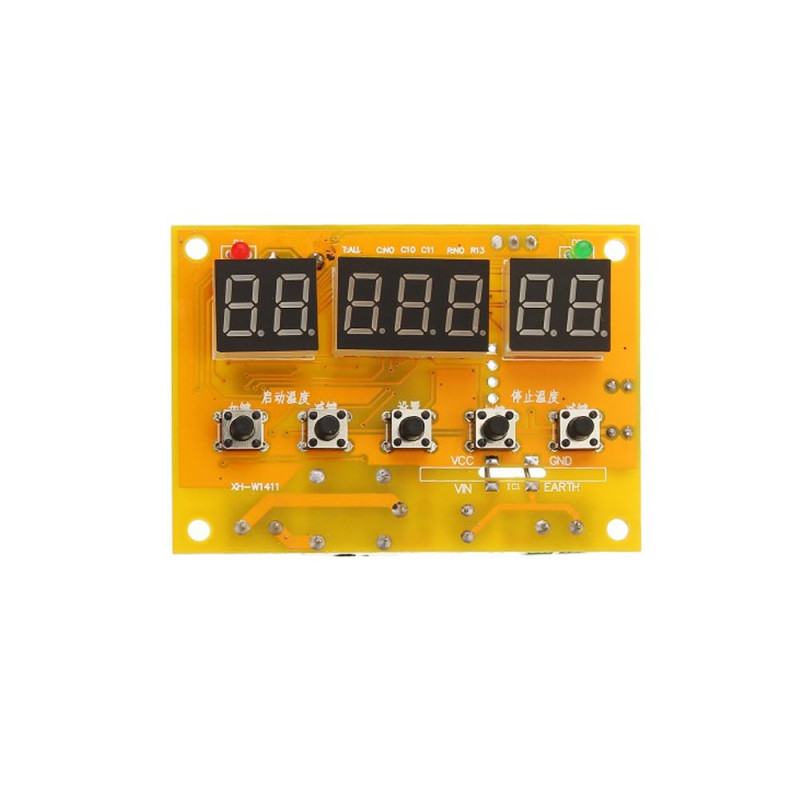
     With its 3 displays it offers easy reading and control. The left display shows the start temperature. The right display shows the stop temperature. The middle display shows the instantly measured temperature. Temperature settings are made with the buttons located under the left display and the right display. There is no need for any other setting. Accordingly, the device operating in heater or cooler mode emerges automatically, depending on whether the right and left temperature values are greater or smaller than each other.

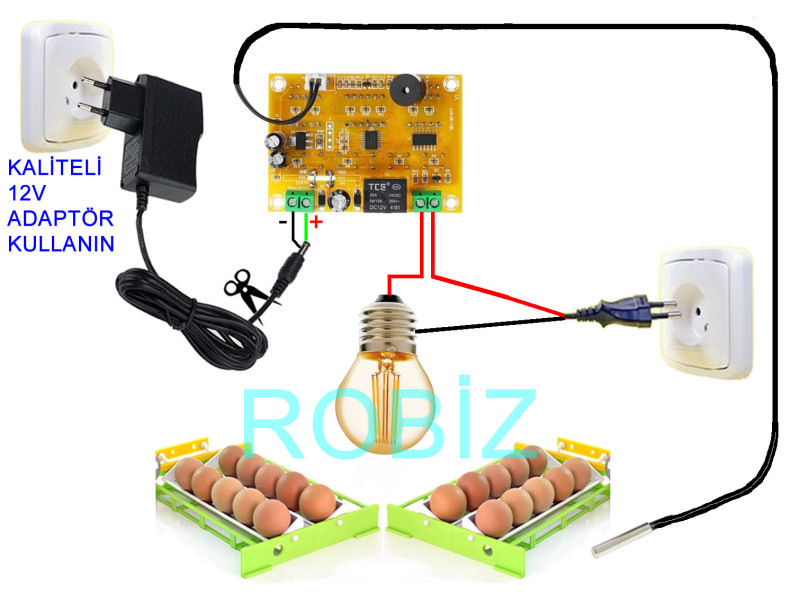
Heater Mode: When the left display setting value is lower than the right display setting, the device operates in heater mode. As an example, let the left display setting be set to 36 degrees and the right display to 38 degrees. Accordingly, the device operates in heater mode. When it drops below 36 degrees, it activates the relay and starts heating the environment. It heats the environment up to 38 degrees. When 38 degrees is reached, the relay turns off and heating is stopped. (During use for incubation, set the temperature settings as left 36 right 38 degrees.)

Cooler Mode: If the right display setting is greater than the left display  the device operates in cooler mode. As an example, let the left display be set to 5 degrees and the right display to -1 degrees. Accordingly, at temperatures above 5 degrees the relay becomes active and the cooler circuit is activated. The system is cooled down to -1 degrees. When -1 degrees is reached, the relay is turned off and the cooling process is stopped. 

     If the red left led is lit, it means the relay has become active and the device is performing the heating or cooling process. If the right green led is lit, the device relay output is off. That is, it is understood that no heating or cooling process is being performed at that moment. 


     To return to factory settings; The product power is cut. The up and down keys on the right side are pressed together, power is given to the device. After a while, along with a warning sound, the product starts operating with its settings reset.

     If you think there is an error in the temperature measurement, you can calibrate it. While the power is off, press the Set key and turn on the power. On this screen you can set a value between +10 and -10 degrees. If you think it measures 1 degree more, a value of -1 is entered here. Then the set key is long pressed. When you release it, the device will return to the normal operating screen. And according to the value you entered, the temperature will be shown differently and it will perform the thermostat operations accordingly.


2)  Timer Mode:

     When the set key on the product is pressed, it enters the F1 F2 and F3 operating modes in order. In these modes, the relay's on and off durations can be adjusted depending on time. For example, it can fulfill a function such as operating the incubator tray at certain intervals.

     If the product is to be turned off while operating as a timer, the Set key is long pressed. After 3 sec the product turns off. If the set key is pressed again, the product starts operating.


F1 Timer Function. In the F1 operating function the product works as a timer relay with 2 variables in minutes.

  • The number value on the left part allows you to set the off time of the relay output in minutes.
  • The number value on the right part allows you to set the on time of the relay output in minutes.

As an example, if the left part is set as 58 and the right part as 2, the relay output is off for 58 min. Then the relay turns on for 2 min.  By setting it as 1 - 1 you can quickly examine the operation of the product.

F2 Timer Function. In the F2 operating function the product works as a timer relay with 2 variables.
The number value on the left part allows you to set the on time of the relay output in hours.
The number value on the right part allows you to set the off time of the relay output in minutes.

As an example, if the left part is set as 1 and the right part as 2, the relay output is off for 1 hour. Then the relay turns on for 2 min. 


F3 Timer Function. In the F3 operating function the product works as a timer relay with 2 variables.
The number value on the left part allows you to set the on time of the relay output in hours.
The number value on the right part allows you to set the off time of the relay output in minutes.

As an example, if the left part is set as 1 and the right part as 2, the relay output is on for 1 hour. Then the relay turns off for 2 min.


Package Contents:

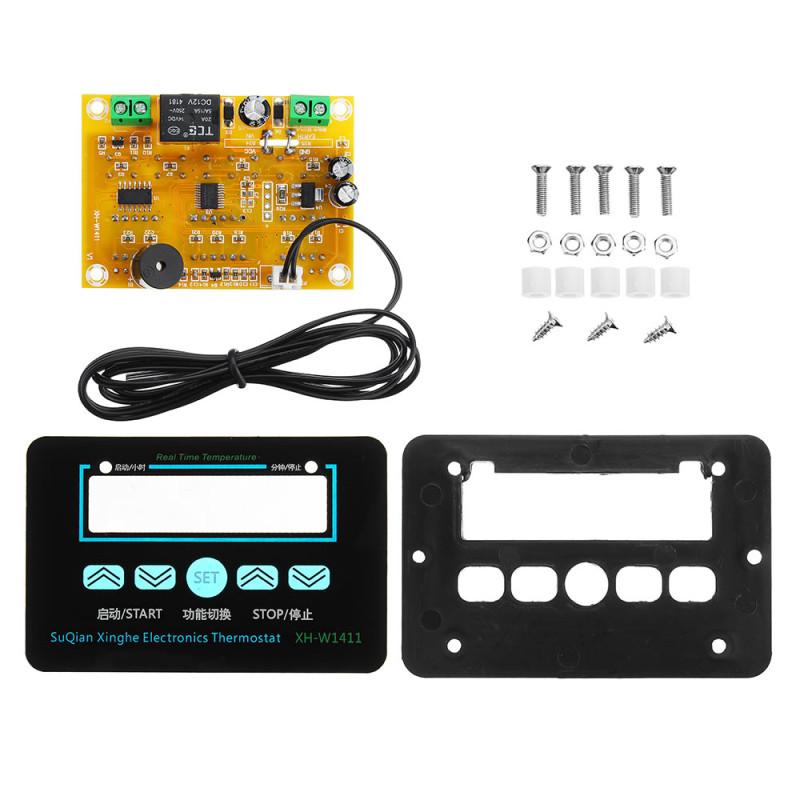
  • 1 Pcs XH-W1411 Digital Thermostat / Timer Module


Be the first to write a review for this product.

Write a review

Note: HTML is not translated!
Bad           Good
Captcha
Marka: OEM
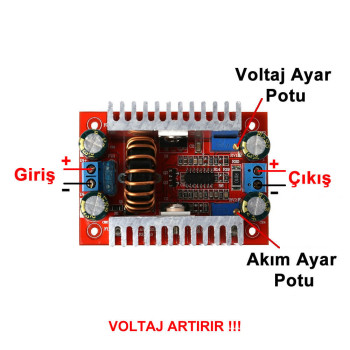
  400W Current Controlled Boost Voltage Booster Module Led Driver DC DC Converter 60V 15A Regulator 400 Watt Power Supply Step Up  ..
345.60TL
Ex Tax:288.00TL