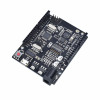
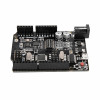
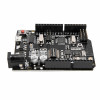
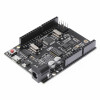
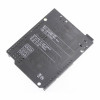
- Stok Durumu: Stok Var
- Marka: OEM
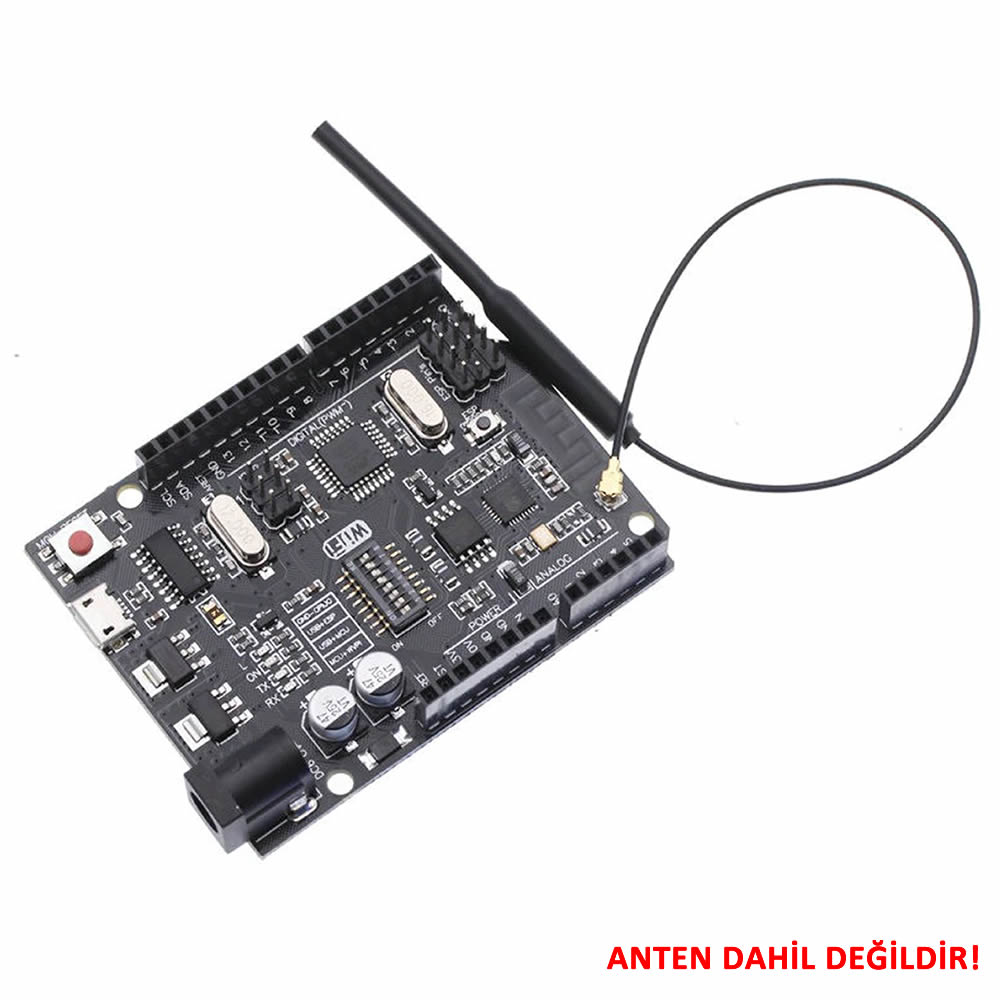
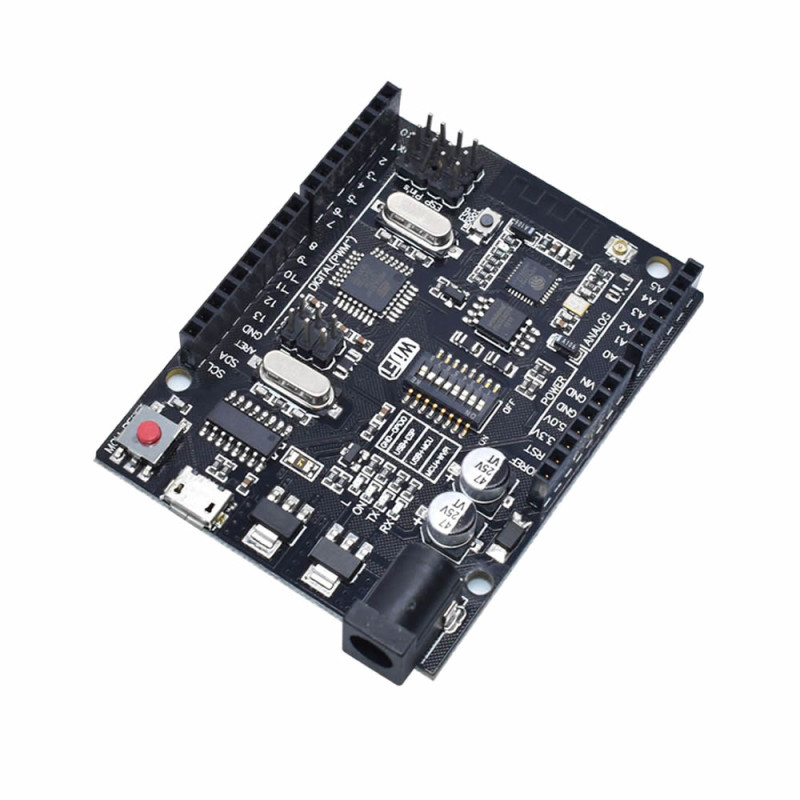
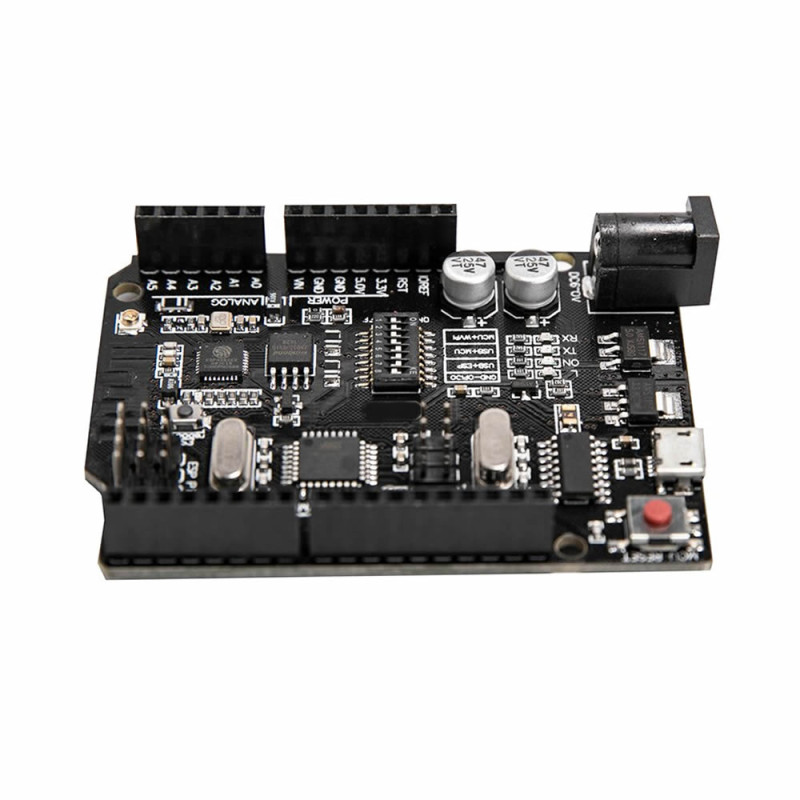
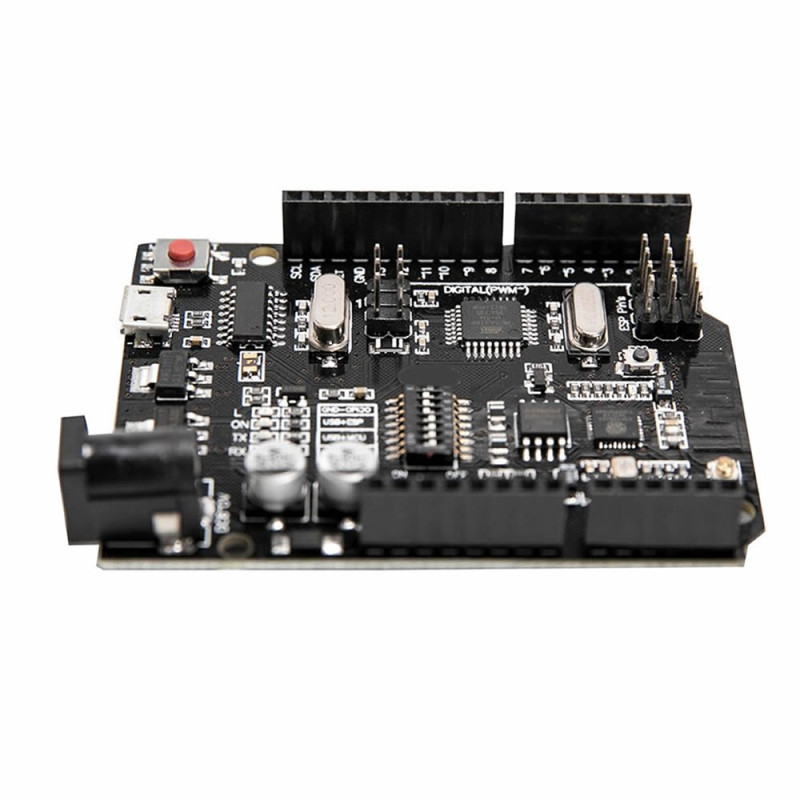
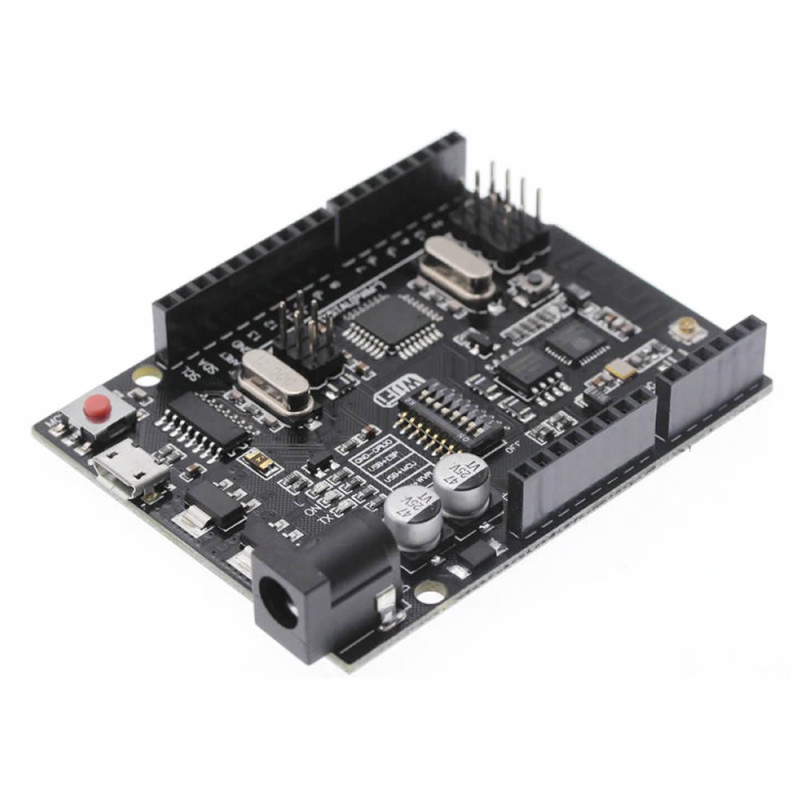
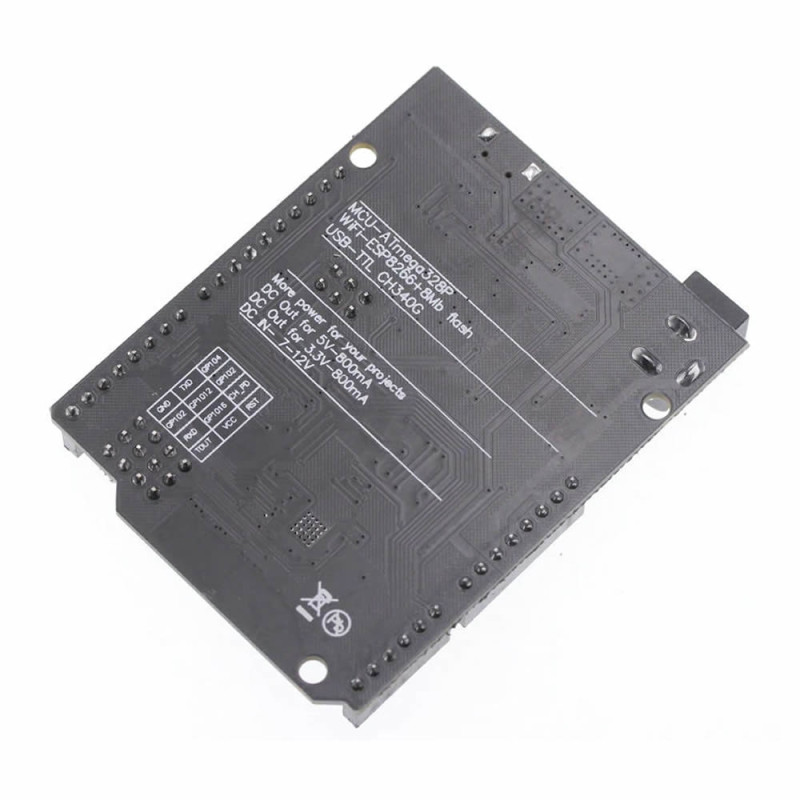
- Model: Arduino UNO R3 Esp8266 Wifi
- SKU: RBZ.101.135
Arduino UNO R3 Wifi ESP8266 CH340
Micro Usb 32Mbit Wireless Internet Code Development Education Board Programming IOT Control Data Monitoring Log Recording
The product package will be opened by us. A program will be uploaded to the Arduino and esp side and it will be tested. The products that reach you will have been tested and will be in a state where they blink an led every 3 sec. If the product is to be returned, the arduino and esp must be reprogrammable.
Features:
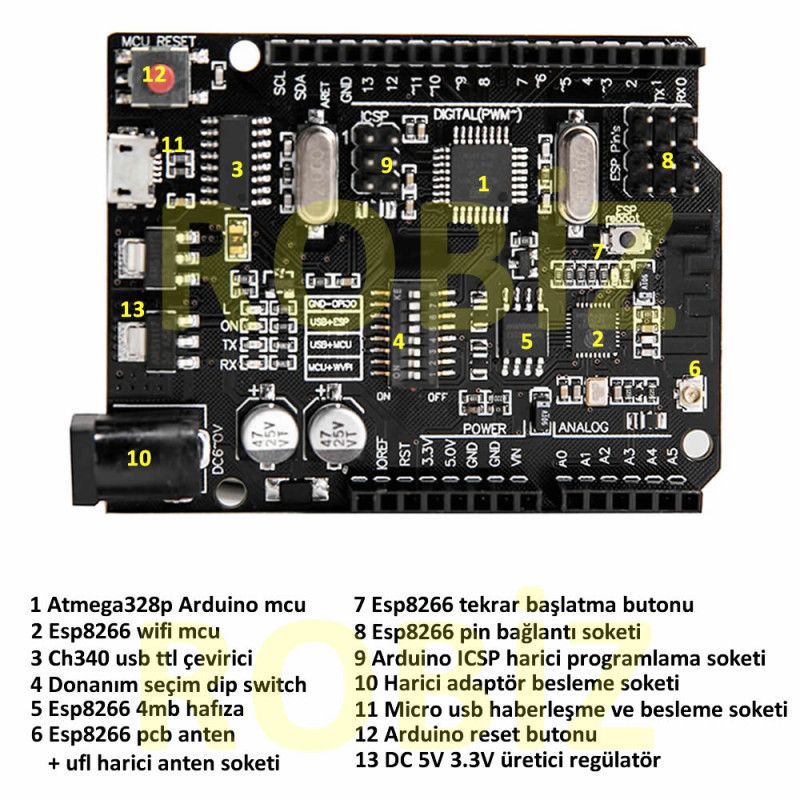
- Main chip: ATmega328
- Speed: 16MHz
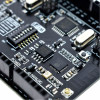
- Wifi chip: ESP8266
- Wifi memory: 32Mbit ( 4 Mb )
- Usb ttl converter: CH340G
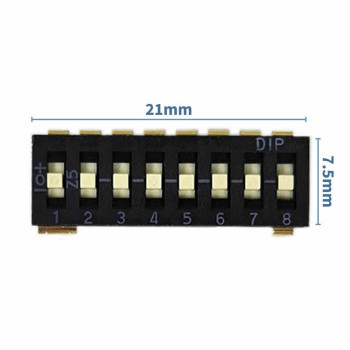
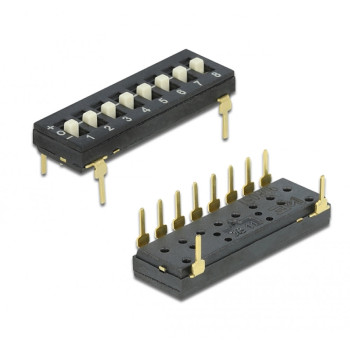
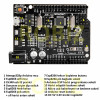
- 8 position setting switch for uart communication
- External adapter voltage: DC 6V / 12V ( ldos are damaged at higher voltages )
- Usb power and communication port: Micro Usb ( Cable is not included.)
- Wfi protocol: 802.11 b / g / n 2,4 GHz
- Antenna: Pcb antenna + Ufl connection socket
- DC 5V 800mA ldo regulator on the board
- DC 3.3V 800mA ldo regulator on the board
- Number of digital IO: 14
- Number of analog IO: 6
- Reset button
- 4 indicator leds. Power(On), User (L), Rx, Tx
- Color: Black
- Operating temperature: -10 / 80C
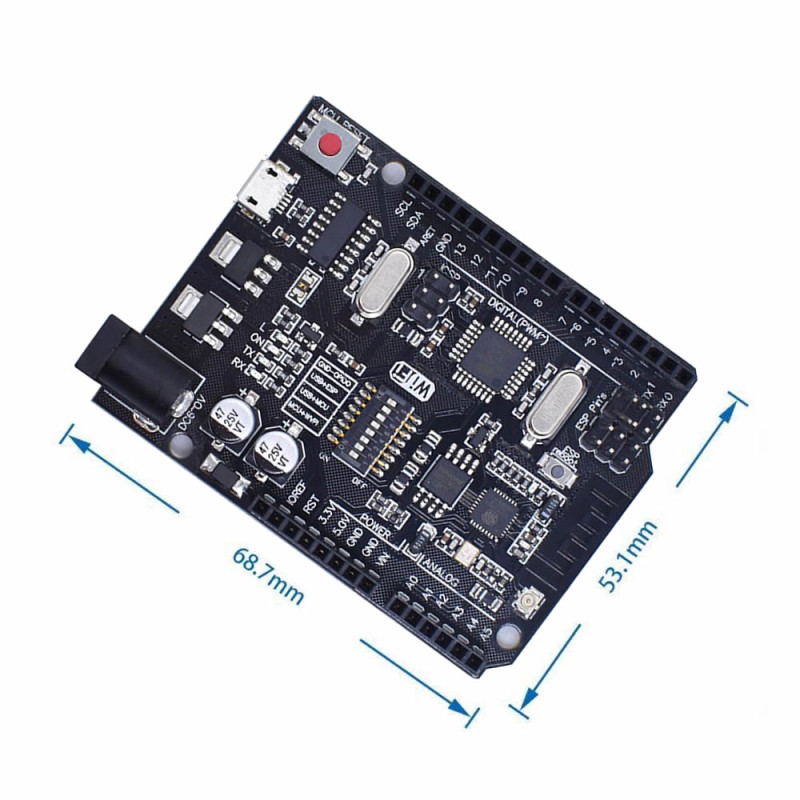
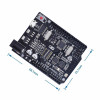
- Dimensions: 53mm x 58mm x 15mm
- Weight: 23gr
Driver : The CH341SER.EXE file must be downloaded via Google and installed. When you connect the board to the computer, a new com port is created under “ports”. This com port is selected and used in the Arduino IDE.
wch-ic.com/products/CH340.html
Package contents :
- 1 Piece Arduino UNO R3 Esp8266 Wifi
Note: A micro usb cable does not come in the package. If you do not have a suitable cable, you need to obtain a Micro usb cable.
- Before the arduino side is used, a code must definitely have been uploaded to the esp, even if it is empty.
- Numbers 3-4 on the dip switch are set to the On position. The others remain in the Off state.
- In the Arduino ide, “Arduino Uno Wifi“ is selected as the board.
- Under examples, the blink example inside basic is opened. The 1 sec delays in the example ( delay(1000) ) are changed to 3sec ( 3000 ).
- The upload command is run. When the upload command is pressed, the arduino reset key is held pressed. After the uploading message appears, the reset button is released.
- The upload completed message is seen. Then you will see that the user led coded with L stays on for 3 sec and off for 3 sec.
- Numbers 5-6-7 on the dip switch are set to the On position. The others remain in the Off state.
- In the Arduino ide, “Generic ESP8266 Module“ is selected as the board.
- A suitable esp8266 example is opened.
- The upload command is run. When the upload command is pressed, the esp8266 reboot key is held pressed. After the uploading message appears, the reset button is released. The upload completed message is seen. ( In some cases it may be necessary to press and release the arduino reset and reboot buttons at the same time.)
- Dip switch number 7 is set to the Off state. The arduino reset button is pressed.
| DIP SWITCH | 1 | 2 | 3 | 4 | 5 | 6 | 7 | 8 |
| Arduino Uno Programming Mode | X | X | ON | ON | X | X | X | Not used |
| ESP8266 Programming Mode | X | X | X | X | ON | ON | ON | Not used |
| ESP8266 USB Communication | X | X | X | X | ON | ON | X | Not used |
| Arduino ESP8266 Communication | ON | ON | X | X | X | X | X | Not used |
| All Independent | X | X | X | X | X | X | X | Not used |
Adding Esp32 and Esp8266 boards in the Arduino IDE:
- Open the File / Preferences menu.
- At the bottom, press the button to the right of the additional boards manager. Paste the lines below
http://arduino.esp8266.com/stable/package_esp8266com_index.json
https://raw.githubusercontent.com/espressif/arduino-esp32/gh-pages/package_esp32_index.json
- Open Tools / Board / Board manager. In the window that appears, type esp8266 and wait. Install the esp8266 result that appears. Now you will see that the esp8266 boards are in the board manager.
- Open Tools / Board / Board manager. In the window that appears, type esp32 and wait. Install the esp32 result that appears. Now you will see that the esp32 boards are in the board manager.